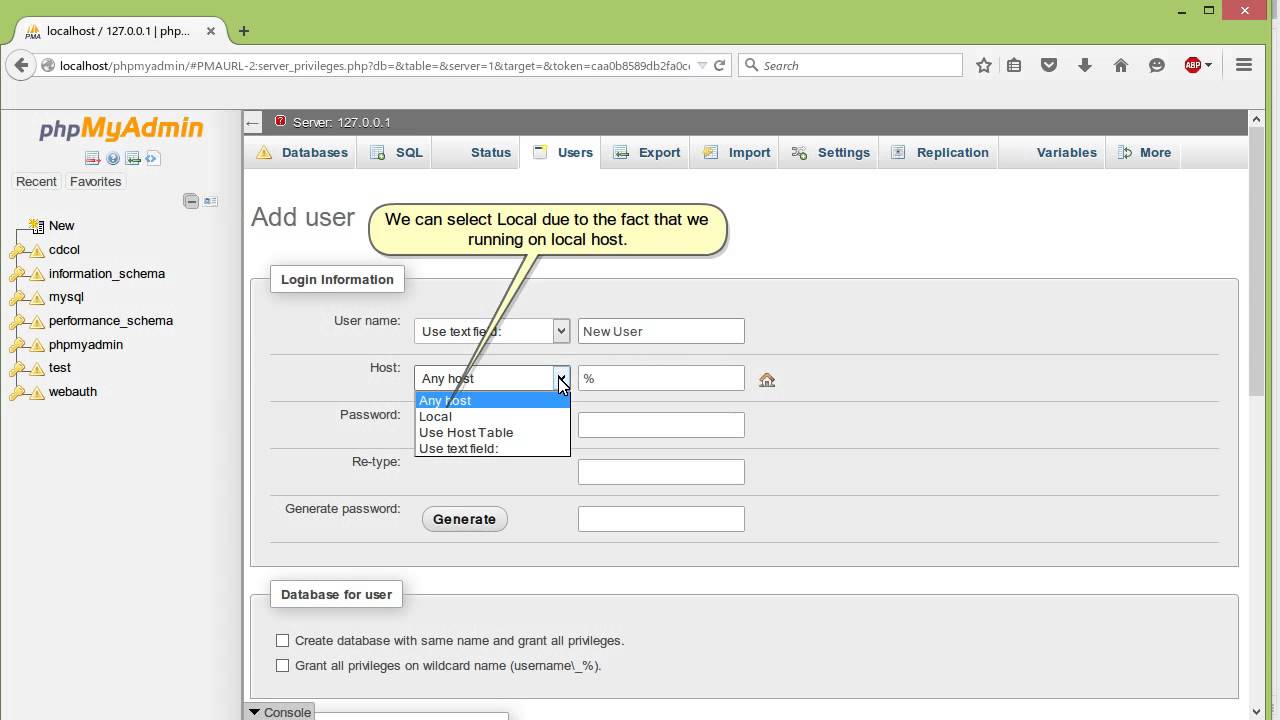
How to Add Database User in phpMyAdmin
When working with databases, it’s common to need to add user accounts for various purposes. phpMyAdmin is a popular tool that can be used to manage MySQL databases. In this article, we will guide you on how to add a database user in phpMyAdmin.
Step 1: Access phpMyAdmin
The first step is to access phpMyAdmin. You can do this by logging into your cPanel account and clicking on the phpMyAdmin icon. Alternatively, you can type in your website URL followed by “/phpmyadmin” in the browser.
Step 2: Select the Database
Once you are in phpMyAdmin, you will see a list of databases on the left-hand side. Click on the database for which you want to add a user.
Step 3: Click on the “Privileges” Tab
After selecting the database, click on the “Privileges” tab at the top of the page. This will allow you to manage user accounts for the selected database.
Step 4: Add a New User
Now, you can add a new user by clicking on the “Add a new User” link. Enter the username and password for the new user. You can also specify the host from which the user can connect to the database.
Step 5: Set Privileges
After adding the user, you will need to set privileges for the user. You can do this by selecting the user from the list and clicking on the “Edit Privileges” link. Here, you can specify what actions the user can perform on the database.
Step 6: Save the Changes
Once you have set the privileges, don’t forget to click on the “Go” button to save the changes. Your new database user is now set up and ready to use.
Conclusion
Adding a database user in phpMyAdmin is a straightforward process that allows you to control access to your databases. By following the steps outlined in this article, you can easily add and manage database users in phpMyAdmin.
