How to Access Database in phpMyAdmin
phpMyAdmin is a popular web-based tool used for managing MySQL databases. In this article, we will guide you on how to access your database using phpMyAdmin.
Step 1: Log in to phpMyAdmin
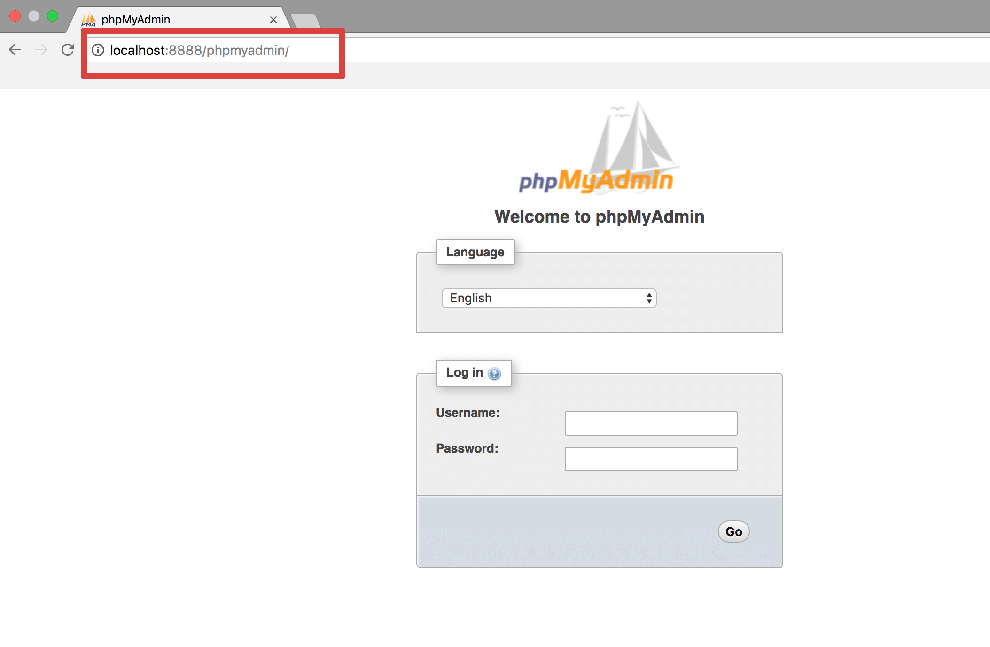
Firstly, you need to log in to your phpMyAdmin dashboard. You can do this by visiting your website’s URL followed by /phpmyadmin (e.g., www.yourwebsite.com/phpmyadmin).
Once you have accessed the login page, enter your username and password to proceed to the phpMyAdmin dashboard.
Step 2: Select the Database
After logging in, you will see a list of databases on the left-hand side of the phpMyAdmin interface. Click on the database you want to access.
If you are not sure which database to choose, you can check your website’s configuration files or contact your hosting provider for assistance.
Step 3: Navigate the Database Tables
Once you have selected the database, you will see a list of tables within that database. You can click on a specific table to view its contents and make changes if necessary.
From the phpMyAdmin dashboard, you can run SQL queries, import and export data, create new tables, and more.
Step 4: Perform Database Operations
Now that you have accessed your database in phpMyAdmin, you can perform various database operations such as inserting, updating, deleting, and querying data.
Step 5: Make Sure to Log Out
Lastly, don’t forget to log out of phpMyAdmin once you are done with your database tasks. This is important for security reasons to prevent unauthorized access to your database.
By following these simple steps, you can easily access and manage your database using phpMyAdmin. If you encounter any challenges, don’t hesitate to seek help from a database administrator or web developer.
Happy database managing!
