Hosting a Minecraft Server on AWS
If you’re a Minecraft enthusiast looking to host your own server, Amazon Web Services (AWS) provides a reliable and scalable platform to do just that. In this guide, we’ll walk you through the steps of setting up a Minecraft server on AWS, allowing you to customize your gaming experience and play with friends around the world.
Why Choose AWS for Hosting?
Amazon Web Services is a cloud computing service that offers a wide range of tools and resources for hosting applications, websites, and game servers. With AWS, you have full control over your server environment, allowing you to customize settings, install mods, and manage player access with ease.
Getting Started with AWS
Before you can host a Minecraft server on AWS, you’ll need to create an AWS account. Simply visit the AWS website and follow the instructions to sign up. Once your account is set up, log in to the AWS Management Console to get started.
Launching an EC2 Instance
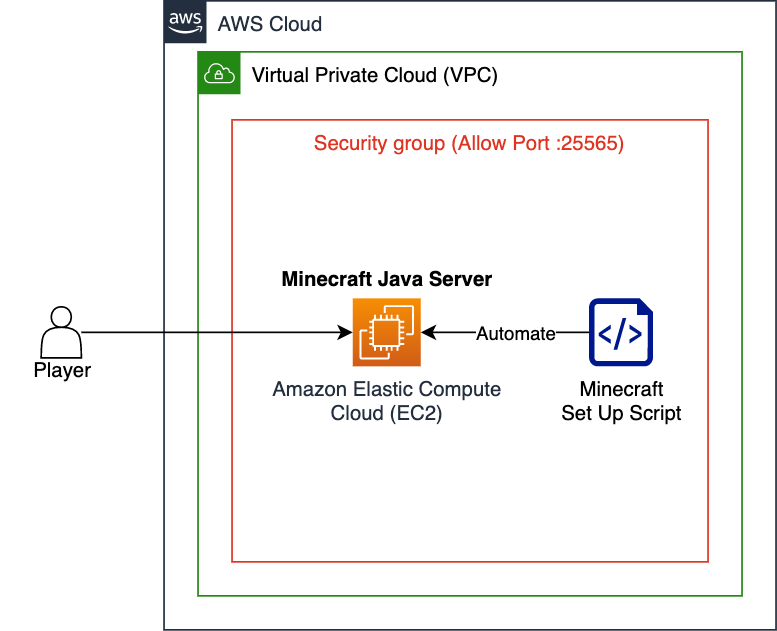
To host your Minecraft server on AWS, you’ll need to launch an EC2 instance. EC2 is a virtual server in the cloud that allows you to run applications and services.
1. In the AWS Management Console, navigate to the EC2 dashboard and click on “Launch Instance”.
2. Choose an Amazon Machine Image (AMI) that is compatible with Minecraft Server, such as Ubuntu or Windows.
3. Select an instance type based on your server requirements, such as CPU, memory, and storage.
4. Configure the instance details, such as network settings and security groups.
5. Review and launch the instance, following the on-screen instructions.
Installing Minecraft Server
Once your EC2 instance is up and running, you’ll need to install the Minecraft server software. Here’s how:
1. Connect to your EC2 instance using SSH or Remote Desktop.
2. Download the Minecraft server JAR file from the official Minecraft website.
3. Run the JAR file to start the server and generate the necessary configuration files.
4. Customize your server settings, such as game mode, difficulty, and world type.
5. Share the server IP address with your friends to start playing together!
Optimizing Performance
To ensure smooth gameplay and minimal lag, consider optimizing your AWS server for Minecraft:
1. Allocate sufficient CPU and memory resources to your EC2 instance.
2. Configure network settings to minimize latency and maximize bandwidth.
3. Implement caching and load balancing to handle peak player activity.
4. Regularly monitor server metrics and adjust settings as needed.
Conclusion
Hosting a Minecraft server on AWS is a rewarding experience that allows you to create a unique gaming environment and connect with players worldwide. With the flexibility and scalability of AWS, you can easily manage your server, install mods, and enjoy lag-free gameplay. Follow this guide to get started and unleash your creativity in the world of Minecraft!
