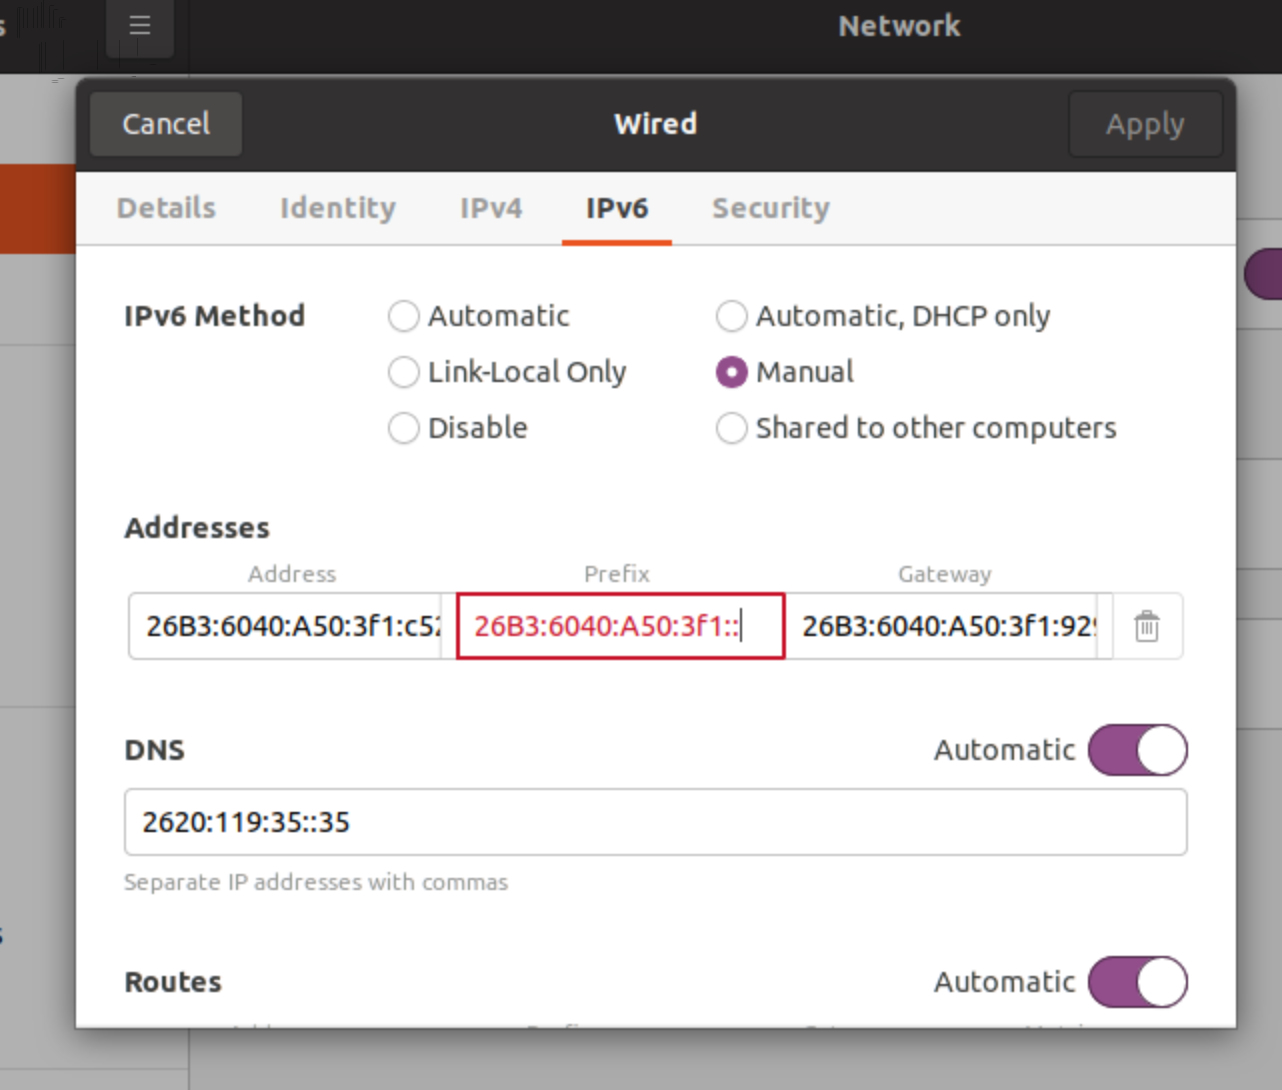
How to Enable IPv6 on Ubuntu
IPv6 is the latest version of the Internet Protocol that provides a larger address space than its predecessor, IPv4. Enabling IPv6 on your Ubuntu system can help improve network connectivity and security. In this guide, we will walk you through the steps to enable IPv6 on your Ubuntu machine.
Check if IPv6 is already enabled
Before enabling IPv6, it’s essential to check if it is already enabled on your system. You can do this by running the following command in the terminal:
cat /proc/sys/net/ipv6/conf/all/disable_ipv6
If the output is 0, then IPv6 is already enabled. If the output is 1, then IPv6 is disabled, and you can proceed with the steps below to enable it.
Enable IPv6 using sysctl
To enable IPv6 using the sysctl command, follow these steps:
- Open a terminal window on your Ubuntu system.
- Run the following command to edit the sysctl configuration file:
sudo nano /etc/sysctl.conf- Add the following lines to the end of the file:
net.ipv6.conf.all.disable_ipv6 = 0
net.ipv6.conf.default.disable_ipv6 = 0
net.ipv6.conf.lo.disable_ipv6 = 0
Save the file and exit the text editor. Run the following command to apply the changes:
sudo sysctl -p
IPv6 should now be enabled on your Ubuntu system. You can verify this by running the cat /proc/sys/net/ipv6/conf/all/disable_ipv6 command again and checking that the output is 0.
Restart networking service
After enabling IPv6, it’s recommended to restart the networking service to apply the changes. You can do this by running the following command:
sudo systemctl restart networking
Your Ubuntu system should now have IPv6 enabled and running. You can test your IPv6 connectivity using online tools or by visiting IPv6-enabled websites.
Conclusion
Enabling IPv6 on your Ubuntu system can enhance your network connectivity and security. By following the steps outlined in this guide, you can easily enable IPv6 and enjoy the benefits of the latest Internet Protocol version.
