Understanding DMZ settings on Fortigate
DMZ (Demilitarized Zone) settings on Fortigate play a crucial role in ensuring the security and integrity of your network. By properly configuring your DMZ settings, you can create a secure buffer zone between your internal network and the outside world, allowing you to host public-facing services without compromising the security of your internal network.
Fortigate is a leading provider of network security solutions, offering a range of features and capabilities to help organizations protect their networks from cyber threats. One of the key features of Fortigate is its DMZ settings, which allow you to create a separate zone within your network that is isolated from both the internal network and the external network.
Configuring DMZ settings on Fortigate involves a series of steps, including creating a new interface, defining firewall policies, and setting up routing rules. By following the best practices for DMZ configuration, you can ensure that your network remains secure and protected from external threats.
Creating a DMZ interface
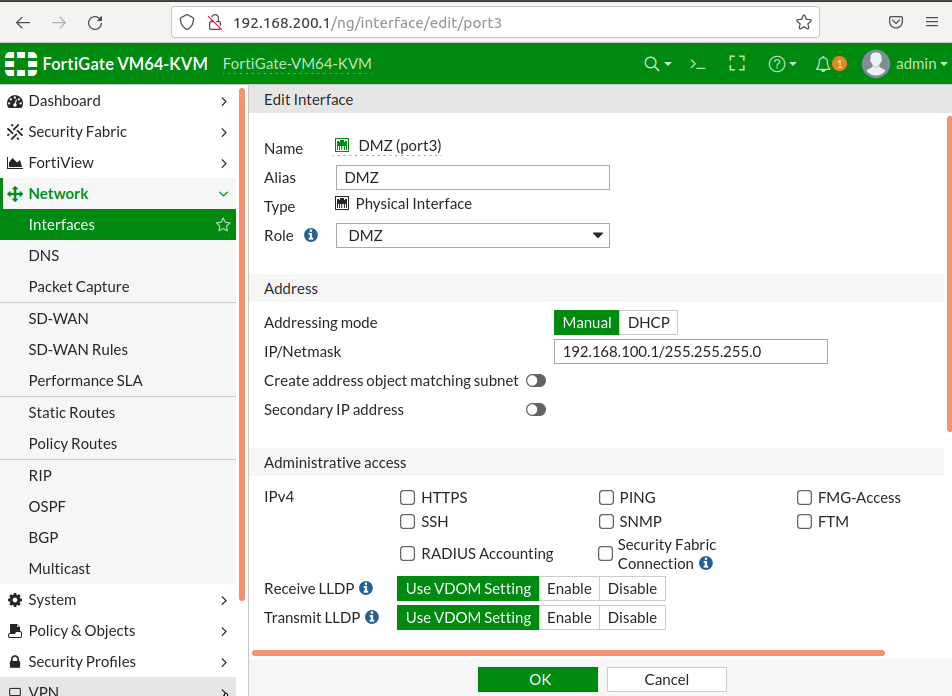
The first step in configuring DMZ settings on Fortigate is to create a new interface for the DMZ zone. This can be done through the Fortigate web interface, where you can define the interface type, IP address, and other settings for the DMZ interface.
It is important to choose the correct interface type for the DMZ interface, depending on the type of network traffic that will be passing through it. For example, if you are hosting web servers in the DMZ, you may want to choose the “LAN” interface type, which is optimized for handling web traffic.
Once you have created the DMZ interface, you can then configure firewall policies to control the flow of traffic to and from the DMZ zone. Firewall policies allow you to define the rules that dictate how traffic should be allowed or blocked between different network zones, helping you to enforce network security policies and prevent unauthorized access.
Defining firewall policies for the DMZ
Firewall policies are a critical component of DMZ configuration on Fortigate, as they help to control the flow of traffic to and from the DMZ zone. By defining firewall policies, you can specify which types of traffic are allowed to pass through the DMZ interface and which should be blocked.
When defining firewall policies for the DMZ, it is important to consider the specific security requirements of your organization and the types of services that you will be hosting in the DMZ zone. For example, if you are hosting email servers in the DMZ, you may want to create firewall policies that allow traffic on port 25 for SMTP traffic, while blocking traffic on other ports.
By creating granular firewall policies for the DMZ, you can ensure that only authorized traffic is allowed to pass through the DMZ interface, helping to protect your network from cyber threats such as malware, phishing attacks, and unauthorized access.
Setting up routing rules for the DMZ
In addition to configuring firewall policies, it is also important to set up routing rules for the DMZ zone on Fortigate. Routing rules help to determine how traffic should be routed between different network zones, ensuring that traffic reaches its intended destination effectively.
When setting up routing rules for the DMZ, you should consider the network topology of your organization and the specific requirements of your network infrastructure. By defining routing rules that are tailored to your organization’s needs, you can ensure that traffic is routed efficiently and securely between the DMZ zone and other network zones.
By following these best practices for DMZ settings on Fortigate, you can create a secure and reliable network environment that protects your organization from cyber threats and ensures the integrity of your data and systems. With proper DMZ configuration, you can host public-facing services with confidence, knowing that your network is secure and protected.