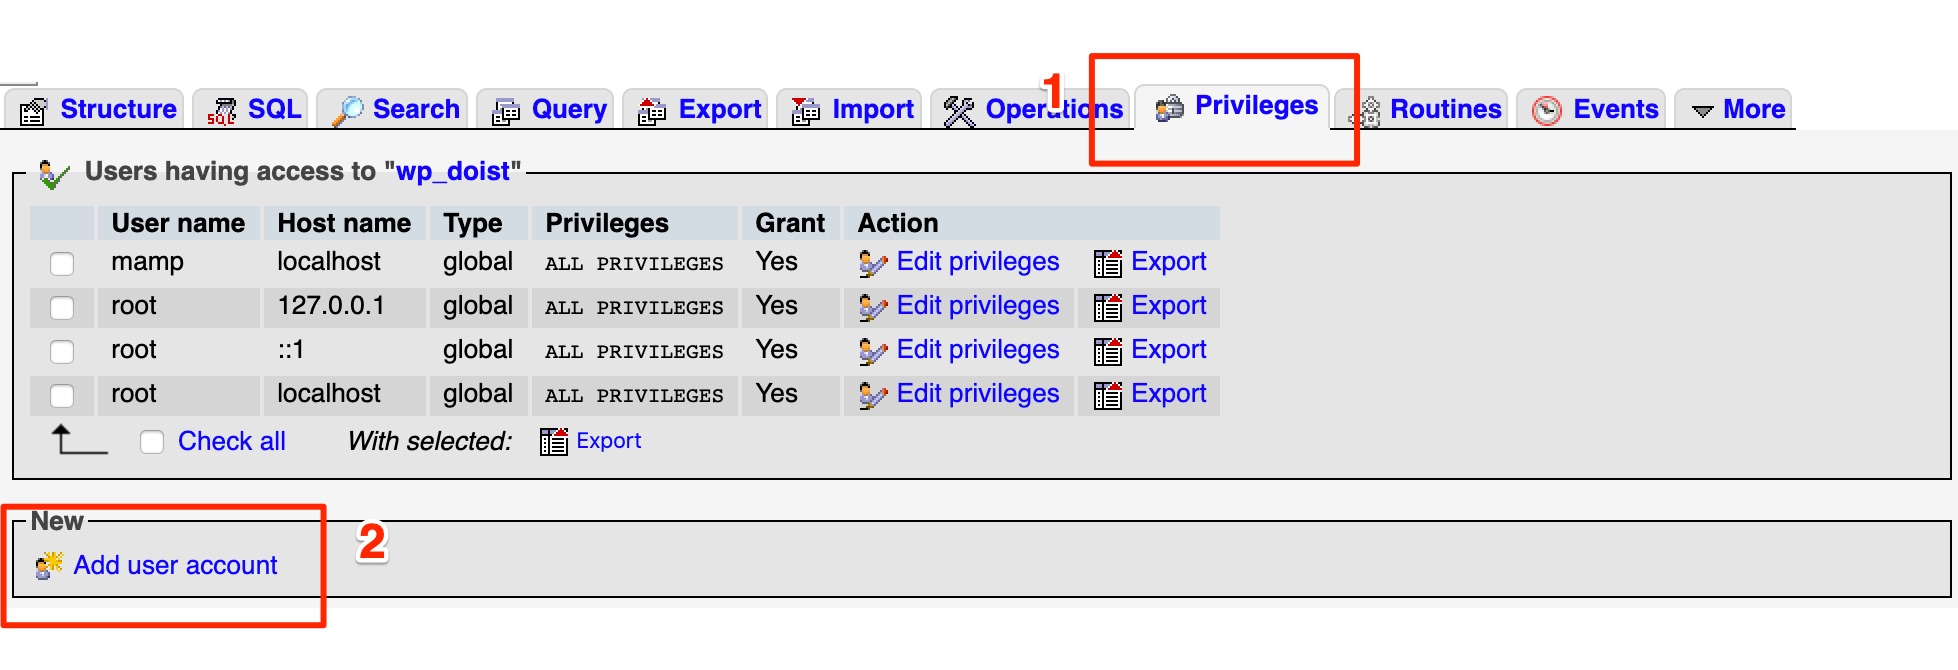
Create User in SQL using phpMyAdmin
Welcome to our step-by-step guide on how to create a new user in SQL using phpMyAdmin. Creating a user in MySQL is a common task for database administrators, developers, and website owners. By following these simple instructions, you will be able to create a new user with the necessary permissions in no time.
Step 1: Log in to phpMyAdmin
The first step in creating a new user in SQL using phpMyAdmin is to log in to your phpMyAdmin dashboard. You can access phpMyAdmin through your web hosting control panel or by entering the URL in your web browser. Once you have logged in, you will see the phpMyAdmin dashboard with a list of databases on the left-hand side.
Step 2: Select the Database
Next, you will need to select the database for which you want to create a new user. Click on the database name in the left-hand pane to display the database tables. This step is important because you will be assigning the user permissions to this database.
Step 3: Navigate to the SQL Tab
After selecting the database, navigate to the SQL tab in the phpMyAdmin dashboard. The SQL tab allows you to run SQL queries directly on the selected database. This is where we will create the new user and assign the necessary permissions.
Step 4: Enter the SQL Query
Now it’s time to enter the SQL query to create the new user. The following is an example of the SQL query you can use to create a new user in MySQL:
CREATE USER 'username'@'localhost' IDENTIFIED BY 'password';
Replace ‘username’ with the desired username and ‘password’ with a secure password for the user. This query will create the user and set the password for authentication.
Step 5: Grant Permissions
After creating the user, you will need to grant the necessary permissions on the database. Use the following SQL query to grant all privileges to the user on the selected database:
GRANT ALL PRIVILEGES ON database_name.* TO 'username'@'localhost';
Replace ‘database_name’ with the name of the selected database. This query will grant all privileges to the user on the specified database.
Step 6: Apply Changes
Once you have entered the necessary SQL queries to create the user and grant permissions, click on the “Go” button to apply the changes. You will see a success message confirming that the user has been created successfully with the specified permissions.
Conclusion
Congratulations! You have successfully created a new user in SQL using phpMyAdmin. By following these simple steps, you can create new users and assign permissions to manage your databases effectively. Remember to secure the user credentials and regularly review permissions to ensure the security of your database. Thank you for reading!
