How to Install cPanel on a Linux VPS
If you are looking to set up a cPanel on your Linux VPS, you’ve come to the right place! cPanel is a powerful web hosting control panel that allows you to manage your server with ease. In this guide, we will walk you through the steps to install cPanel on your Linux VPS.
Step 1: Choose a Compatible Linux Version
Before you begin the installation process, make sure that your VPS is running a compatible Linux distribution. cPanel currently supports CentOS, Red Hat Enterprise Linux, and CloudLinux. Ensure that your VPS meets the system requirements for cPanel installation.
Step 2: Update Your VPS
It is important to keep your server up to date before installing cPanel. Run the following commands to update your VPS:
sudo yum update
sudo yum upgrade
Step 3: Install cPanel
Once your VPS is updated, you can proceed with the cPanel installation. Run the following command to initiate the installation process:
curl -o latest https://securedownloads.cpanel.net/latest
sh latest
Follow the on-screen instructions to complete the installation. Note that the installation process may take some time to complete.
Step 4: Access cPanel
Once the installation is complete, you can access cPanel by navigating to:
https://your_server_ip:2087
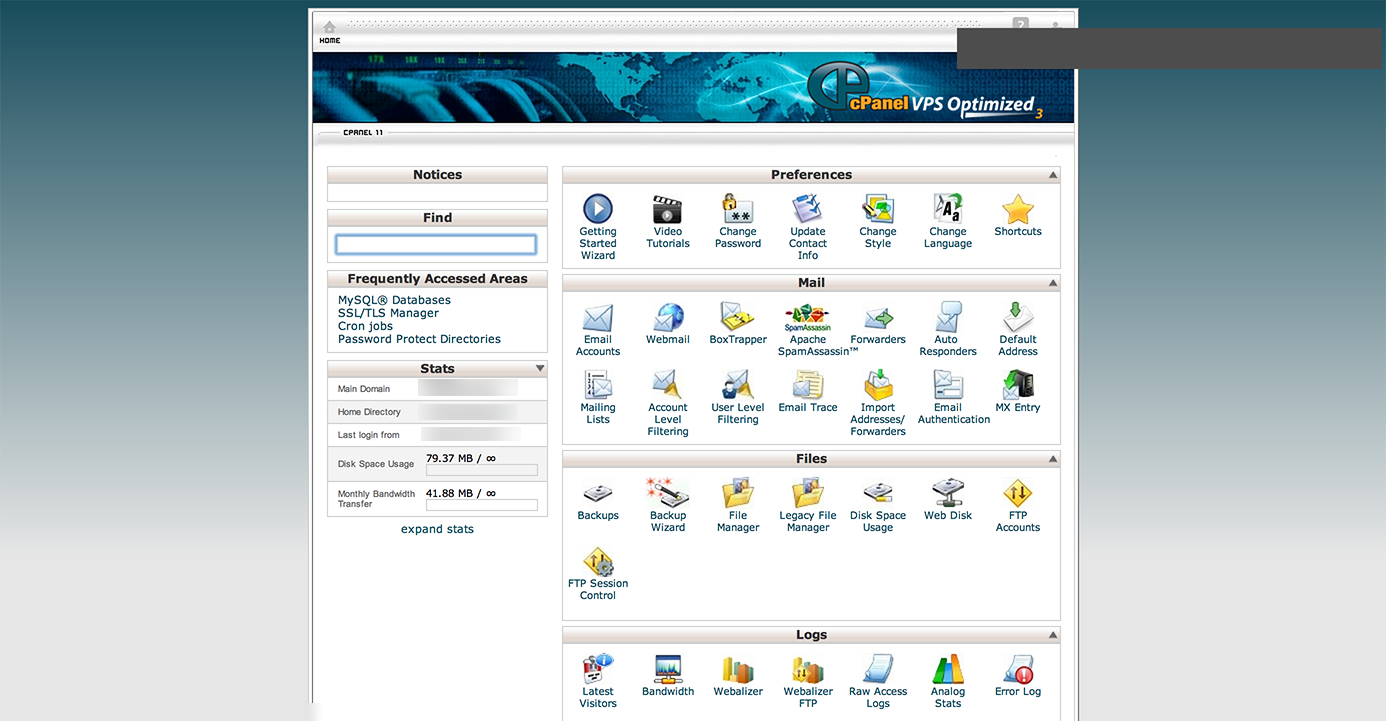
Enter your cPanel username and password to log in and start managing your server through the cPanel interface.
Conclusion
Setting up cPanel on your Linux VPS is a straightforward process that can enhance the management of your server. By following the steps outlined in this guide, you can install cPanel and start leveraging its powerful features to streamline your server administration tasks.
