Correct Spam Filter Settings: A Comprehensive Guide
Are you tired of receiving countless spam emails every day? Do you find yourself constantly sifting through junk mail to find the important messages in your inbox? If so, it may be time to revisit your spam filter settings.
Spam filters are designed to help keep unwanted and potentially harmful emails out of your inbox. When set up correctly, they can significantly reduce the amount of spam you receive on a daily basis. However, if not configured properly, they can end up blocking important emails or letting spam slip through the cracks.
In this guide, we will walk you through the process of setting up your spam filter to ensure that it is working as effectively as possible. By following these steps, you can regain control of your inbox and spend less time dealing with spam.
Step 1: Understand Your Spam Filter
Before you can start adjusting your spam filter settings, it is important to understand how your filter works. Most email providers use a combination of techniques to identify and block spam, including blacklists, whitelists, and content analysis.
Blacklists are lists of known spam senders or domains that are automatically blocked by your email provider. Whitelists, on the other hand, are lists of trusted senders that will always be allowed through your spam filter. Content analysis involves scanning the content of incoming emails for spam-like characteristics, such as suspicious links or keywords.
Step 2: Check Your Current Settings
Before making any changes to your spam filter settings, it is a good idea to check your current configuration. This will help you understand what settings are currently in place and how they may be affecting the emails you receive.
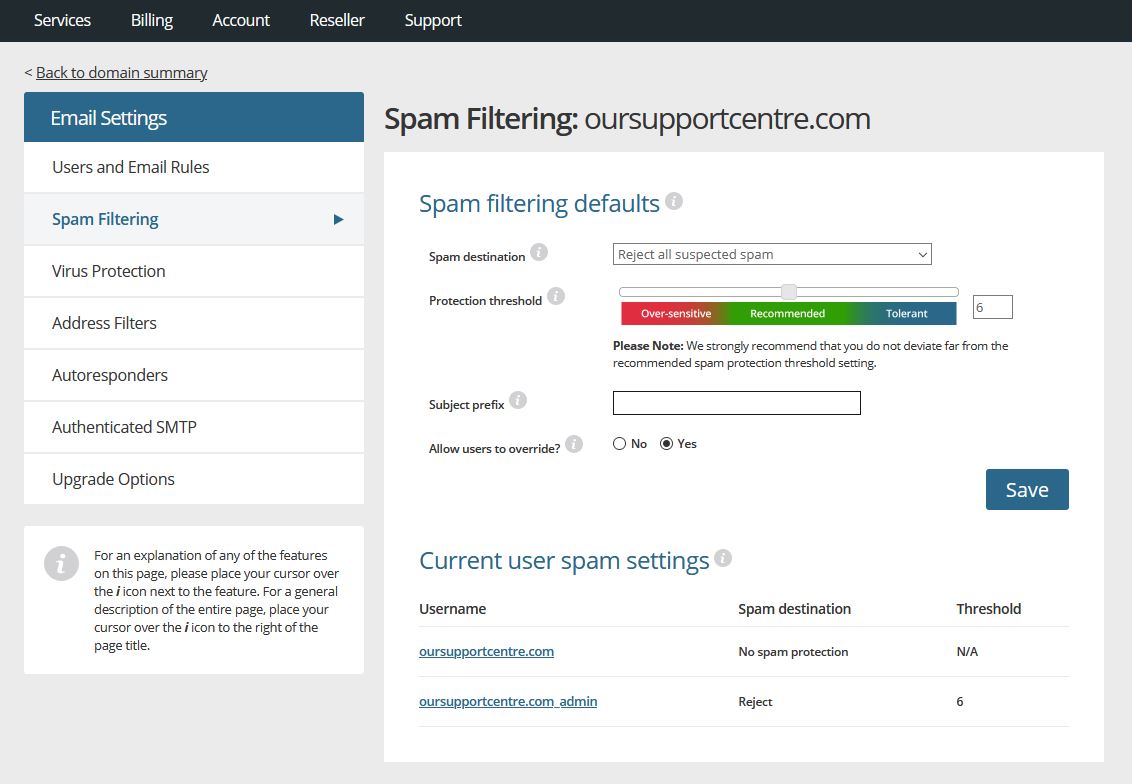
Look for options such as sensitivity levels, whitelist and blacklist settings, and rules for filtering emails based on content. Make note of any settings that seem to be blocking legitimate emails or letting spam through.
Step 3: Adjust Your Settings
Once you have a good understanding of your current spam filter settings, it is time to make any necessary adjustments. Start by checking the sensitivity level of your filter – increasing the sensitivity can help catch more spam, but may also lead to more false positives.
Next, review your whitelist and blacklist settings. Make sure that any important senders are on your whitelist, and consider adding known spam senders to your blacklist. You may also want to adjust the rules for content filtering to better catch spammy emails.
Step 4: Test Your Changes
After making adjustments to your spam filter settings, it is important to test your changes to ensure that they are working as intended. Send yourself a test email from a different email account to see how it is handled by your spam filter.
If the test email is blocked or marked as spam, you may need to further adjust your settings. Conversely, if the test email is allowed through without issue, you can be confident that your spam filter is working correctly.
Step 5: Monitor and Update Regularly
Once you have configured your spam filter settings to your liking, it is important to monitor their effectiveness regularly. Check your spam folder occasionally for any legitimate emails that may have been caught, and adjust your settings as needed.
Keep an eye on any new spam trends or techniques that may be evading your filter, and update your settings accordingly. By staying proactive and vigilant, you can ensure that your spam filter continues to do its job effectively.
With the right spam filter settings in place, you can enjoy a cleaner, more organized inbox that is free of unwanted junk mail. Follow these steps to take control of your email and say goodbye to spam once and for all!
