Azure Load Balancer Configuration Options
When setting up a load balancer in Microsoft Azure, there are various configuration options available to ensure optimal performance and reliability for your applications. In this article, we will explore some of the key settings and choices that can be made to fine-tune your load balancer’s configuration.
1. Load Balancing Algorithms
One of the first decisions you’ll need to make when configuring your Azure load balancer is the choice of load balancing algorithm. Azure offers several options, including round-robin, least connections, and IP hash. Each algorithm has its own strengths and weaknesses, so it’s important to choose the one that best fits your specific use case.
2. Backend Pool Configuration
Next, you’ll need to configure the backend pool for your load balancer. This involves specifying the virtual machines or instances that will receive incoming traffic. You can add or remove servers from the backend pool as needed, allowing you to scale your application up or down based on demand.
3. Health Probe Settings
Health probes are essential for ensuring that traffic is only sent to healthy instances in your backend pool. Azure allows you to configure health probes that periodically check the status of your servers and remove any that are not responding. This helps to maintain high availability for your application.
4. Session Persistence
If your application requires session persistence, you can configure the load balancer to maintain session affinity. This ensures that subsequent requests from the same client are always sent to the same server, which can be important for applications that store session data locally.
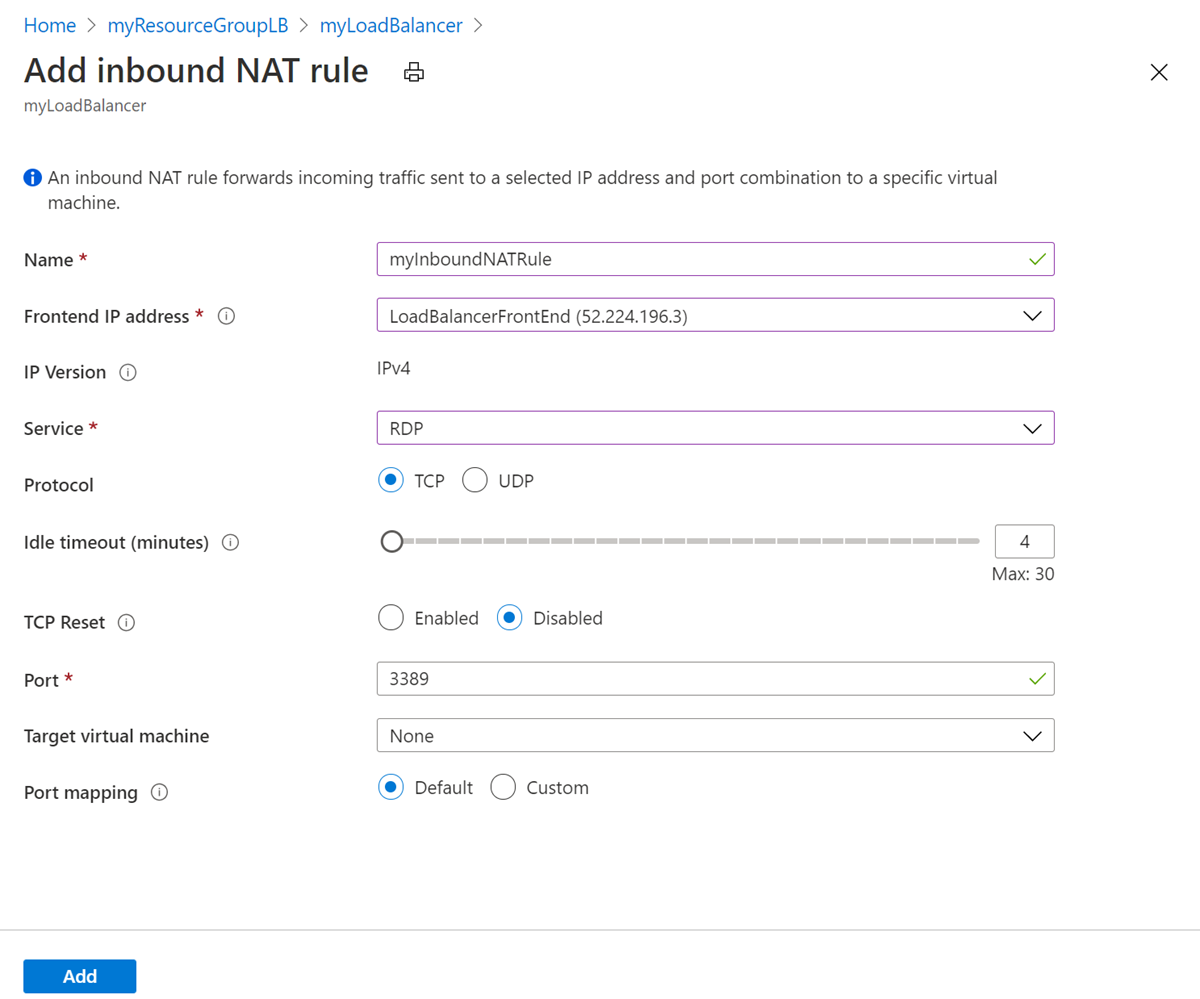
5. Inbound NAT Rules
Azure load balancer also supports inbound NAT rules, which allow you to redirect incoming traffic to specific ports on your backend servers. This can be useful for hosting multiple services on a single server or for redirecting traffic to different machines based on the protocol being used.
6. Outbound Rules
For outbound traffic, you can configure outbound rules on your load balancer to specify which virtual machines are allowed to initiate connections. This can help to restrict access to sensitive information or resources, providing an additional layer of security for your application.
7. Network Security Groups
In addition to load balancer settings, you can also apply network security groups (NSGs) to control traffic to and from your virtual machines. NSGs allow you to create inbound and outbound rules that filter traffic based on IP address, protocol, and port number, helping to secure your network and prevent unauthorized access.
8. Logging and Monitoring
To ensure that your load balancer is operating efficiently, it’s important to enable logging and monitoring. Azure provides tools for tracking traffic flow, monitoring performance metrics, and generating reports on load balancer activity. This data can help you identify issues and make informed decisions about configuration changes.
Conclusion
Configuring an Azure load balancer involves a range of options that can be tailored to meet the specific requirements of your application. By carefully considering factors such as load balancing algorithms, backend pool configuration, health probe settings, and network security, you can create a robust and reliable load balancing solution that ensures high availability and performance for your services.
