How to Authenticate Your Gmail Account with DKIM
Have you ever received an email from a sender claiming to be from a reputable company, only to find out later that it was a phishing attempt? It’s essential to ensure that emails are coming from legitimate sources to protect yourself and your information. DomainKeys Identified Mail (DKIM) is a method used to authenticate the sender of an email by verifying the domain from which it originates. In this article, we will guide you through the process of authenticating your Gmail account with DKIM to enhance security and prevent unauthorized email spoofing.
What is DKIM?
DKIM is an email authentication technique that allows the receiver to check that an email was indeed sent and authorized by the owner of the sending domain. It works by adding a digital signature to the email header, which can be validated by the recipient’s server. This helps in identifying legitimate emails and filtering out spam or phishing emails that may try to impersonate a trusted sender.
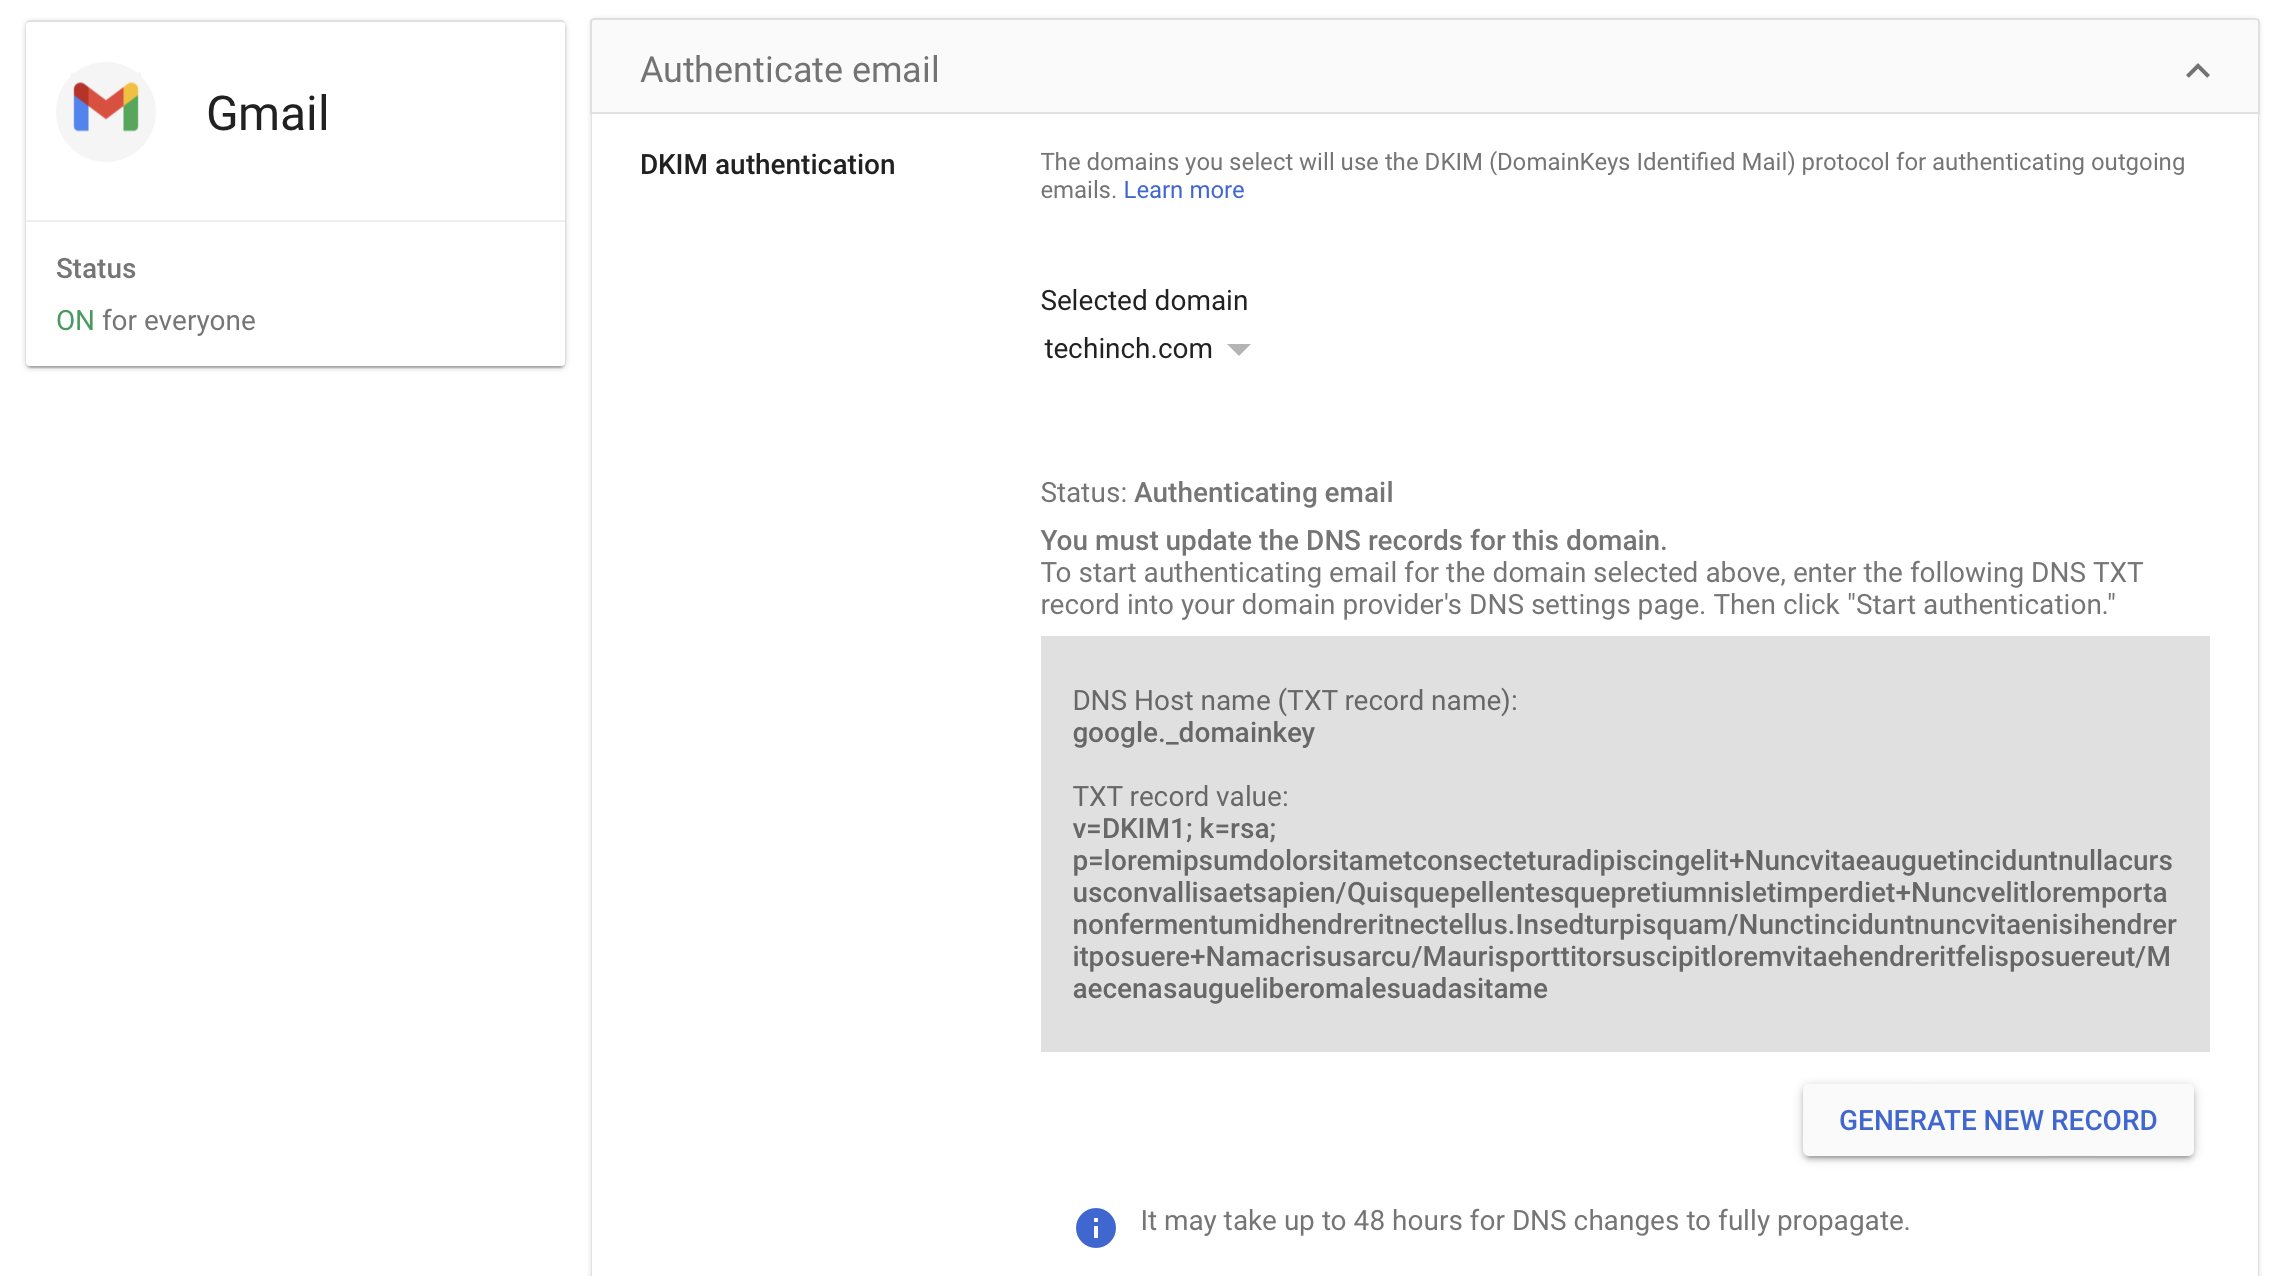
Setting up DKIM for Gmail
Here’s a step-by-step guide to setting up DKIM for your Gmail account:
- Log in to your Gmail account and navigate to the Settings page.
- Click on the “Accounts and Import” tab.
- Scroll down to the “DKIM” section and click on “Add a domain key”.
- Enter your domain name and select the type of key you want to generate (2048-bit or 1024-bit).
- Click on “Generate” and copy the generated DKIM key.
- Go to your domain’s DNS settings and add a new TXT record with the DKIM key as the value.
- Save the changes and allow some time for the DNS records to propagate.
- Once the DKIM record is verified, Gmail will start signing your outgoing emails with DKIM.
Verifying DKIM Setup
To verify that DKIM is set up correctly for your Gmail account, you can send a test email to a service like DKIMVerifier.com. This tool will analyze the DKIM signature of your email and provide feedback on its authentication status. If everything is set up correctly, you should see a “PASS” status indicating that your email is authenticated using DKIM.
Benefits of Using DKIM
By authenticating your Gmail account with DKIM, you can enjoy the following benefits:
- Enhanced Email Security: DKIM helps in verifying the authenticity of emails, reducing the risk of spam or phishing attacks.
- Improved Email Deliverability: Emails authenticated with DKIM are more likely to be delivered to the recipient’s inbox instead of being marked as spam.
- Brand Protection: DKIM adds credibility to your email communications by ensuring that they are secured and verified.
Conclusion
Protecting your email communications from unauthorized use is crucial in today’s digital world. By authenticating your Gmail account with DKIM, you can significantly reduce the chances of falling victim to email spoofing or phishing scams. Follow the steps outlined in this article to set up DKIM for your account and enjoy a more secure and trustworthy email experience.