Setting Up Your Web Hosting with GoDaddy
Are you ready to get your website up and running with GoDaddy web hosting? Look no further! In this guide, we will walk you through the steps to set up your web hosting so you can start building your online presence. Let’s get started!
Step 1: Choose a Hosting Plan
The first step in setting up your web hosting with GoDaddy is to choose a hosting plan that suits your needs. GoDaddy offers a variety of hosting plans, including shared hosting, WordPress hosting, VPS hosting, and dedicated hosting. Consider your website’s size, traffic volume, and technical requirements to select the right plan for your website.
Step 2: Register a Domain Name
Before you can set up your web hosting, you need to register a domain name for your website. GoDaddy also offers domain registration services, allowing you to choose and purchase a domain name that reflects your brand and business. Make sure to select a domain name that is easy to remember and aligns with your website’s purpose.
Step 3: Set Up Your Hosting Account
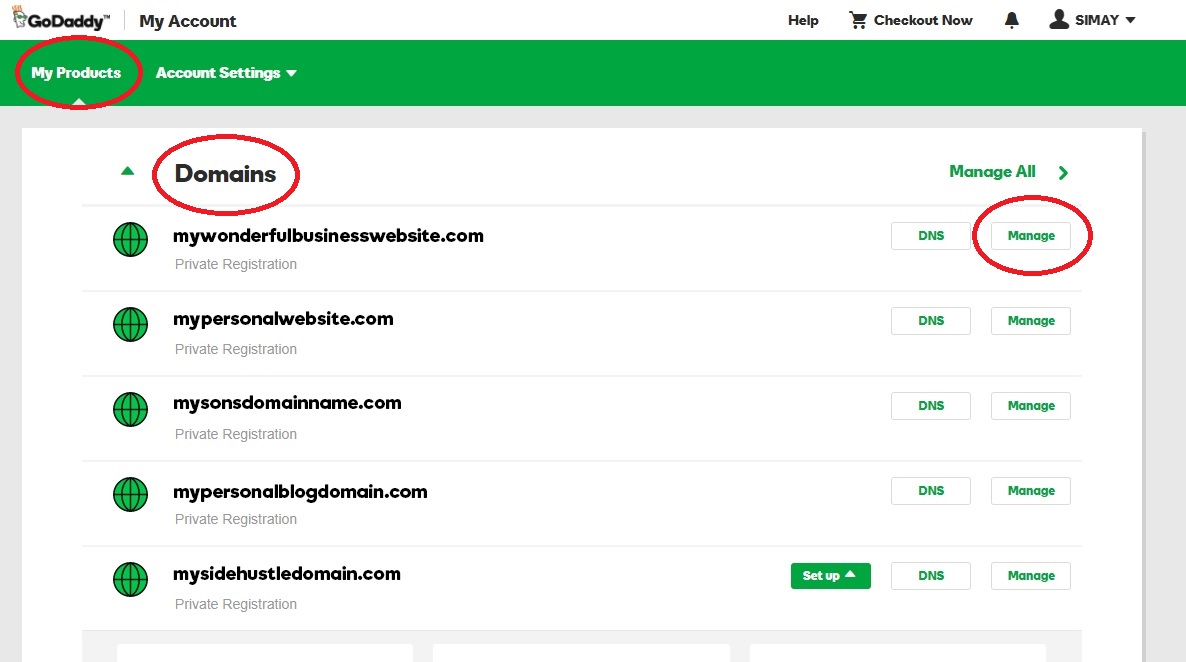
Once you have chosen a hosting plan and registered a domain name, it’s time to set up your hosting account with GoDaddy. Log in to your GoDaddy account and navigate to the hosting section. Follow the on-screen instructions to set up your hosting account, including choosing your domain name, setting up your hosting plan, and configuring your account settings.
Step 4: Install WordPress
If you are using GoDaddy’s WordPress hosting plan, you can easily install WordPress on your website with just a few clicks. Log in to your hosting account, select the WordPress installer, and follow the prompts to install WordPress on your domain. WordPress is a popular content management system that allows you to create and manage your website with ease.
Step 5: Design Your Website
With your hosting account set up and WordPress installed, it’s time to design your website. Choose a theme that fits your brand and customize it to create a unique look for your website. Add your content, images, and other elements to make your website visually appealing and user-friendly.
Step 6: Secure Your Website
Security is essential for any website, and GoDaddy offers various security features to protect your website and data. Install an SSL certificate to encrypt your website’s data, set up regular backups to ensure your data is safe, and implement security plugins to prevent cyber attacks. Regularly update your website and plugins to stay protected against security threats.
Step 7: Launch Your Website
Congratulations! Your website is now ready to launch. Test your website thoroughly to ensure it is functioning correctly, including checking for broken links, typos, and other issues. Once you are satisfied with your website, publish it to make it live on the internet. Share your website with your audience and start promoting it to attract visitors.
Final Thoughts
Setting up your web hosting with GoDaddy is a simple and straightforward process that allows you to create a professional website quickly. Follow these steps to set up your web hosting, install WordPress, design your website, and launch it to start building your online presence. Good luck!
