How to Whitelist Your Server IP Address
Whitelisting your server’s IP address is an essential step in securing your server and ensuring that only trusted connections are allowed to access it. By whitelisting your server IP address, you can prevent unauthorized access and protect your sensitive data from malicious attacks.
Here’s a step-by-step guide on how to whitelist your server IP address:
Step 1: Log in to your server
The first step in whitelisting your server IP address is to log in to your server using your preferred method of access, such as SSH or a control panel like cPanel or Plesk.
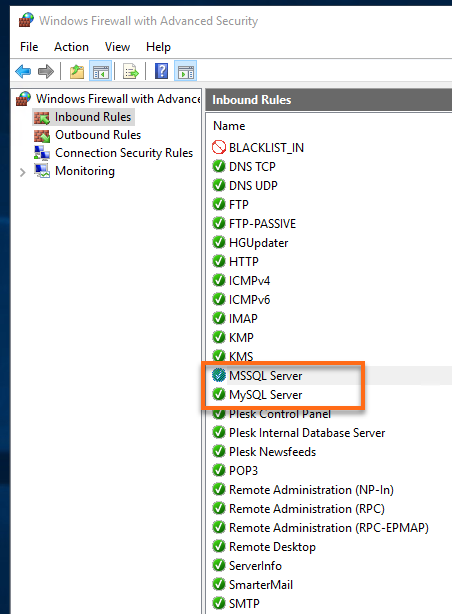
Step 2: Locate the firewall settings
Once you have logged in to your server, you will need to locate the firewall settings. This can usually be found in the security section of your server’s control panel.
Step 3: Add your IP address to the whitelist
In the firewall settings, look for an option to add an IP address to the whitelist. Enter your server’s IP address in the provided field and save your changes.
Step 4: Test the whitelist
After adding your IP address to the whitelist, it’s important to test that the changes have taken effect. You can do this by attempting to access your server from a different IP address to ensure that only whitelisted connections are allowed.
Step 5: Monitor and update the whitelist
Once you have whitelisted your server IP address, it’s crucial to regularly monitor and update the whitelist as needed. This can help ensure that only trusted connections are allowed access to your server.
By following these steps, you can effectively whitelist your server IP address and enhance the security of your server. Remember to always stay vigilant and keep your server protected from potential threats.
