How to Whitelist IP Addresses
Whitelisting an IP address is a key way to ensure that your important emails, files, and services are not blocked by security measures. By whitelisting an IP address, you are essentially telling a system that it can trust a specific IP address and allow it to pass through security barriers. In this article, we will guide you through the process of whitelisting an IP address on various platforms and systems.
Whitelisting on a Website
If you run a website and want to whitelist specific IP addresses to access your site, you can do so by implementing IP whitelisting through your hosting provider or by using a firewall plugin or software. Most hosting providers offer IP whitelisting services through their control panel, where you can add IP addresses to a whitelist.
If you prefer using a firewall plugin or software, make sure to choose one that allows you to easily manage whitelisted IP addresses. Simply add the IP addresses you want to whitelist to the list provided by the plugin or software, and save your changes. This will ensure that only the whitelisted IP addresses can access your website.
Whitelisting for Email Servers
Whitelisting IP addresses for email servers is crucial to ensure that important emails aren’t blocked or marked as spam. Most email service providers have options to whitelist specific IP addresses in their email security settings. To whitelist an IP address for your email server, log in to your email provider’s dashboard, navigate to the security settings, and add the IP address to the whitelist.
Make sure to double-check the IP address you are whitelisting to avoid any unintended consequences. Once you save the changes, emails sent from the whitelisted IP address will bypass security checks and be delivered to the recipient’s inbox without any issues.
Whitelisting on Network Devices
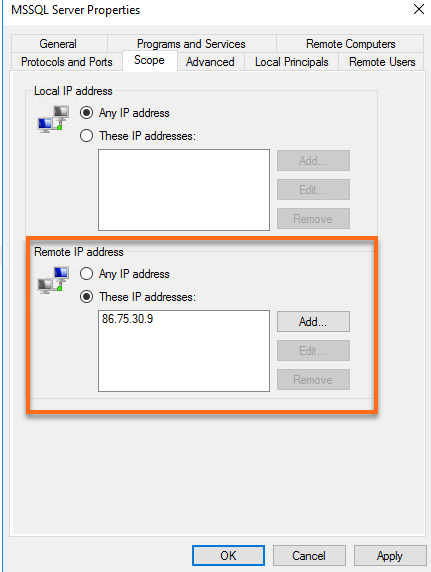
If you want to whitelist IP addresses on network devices such as routers, switches, or firewalls, you can do so through the device’s administration panel. Log in to the device’s web interface, navigate to the security settings, and look for an option to whitelist IP addresses.
Enter the IP addresses you want to whitelist and save your changes. This will ensure that the whitelisted IP addresses can access the network and its resources without any restrictions. Remember to keep the whitelist updated and remove any IP addresses that are no longer needed.
Conclusion
Whitelisting IP addresses is an essential aspect of maintaining security and ensuring that important communications and services are not blocked by security measures. By following the steps outlined in this article, you can easily whitelist IP addresses on websites, email servers, and network devices. Remember to always verify the IP addresses you whitelist to prevent any unauthorized access to your resources.
