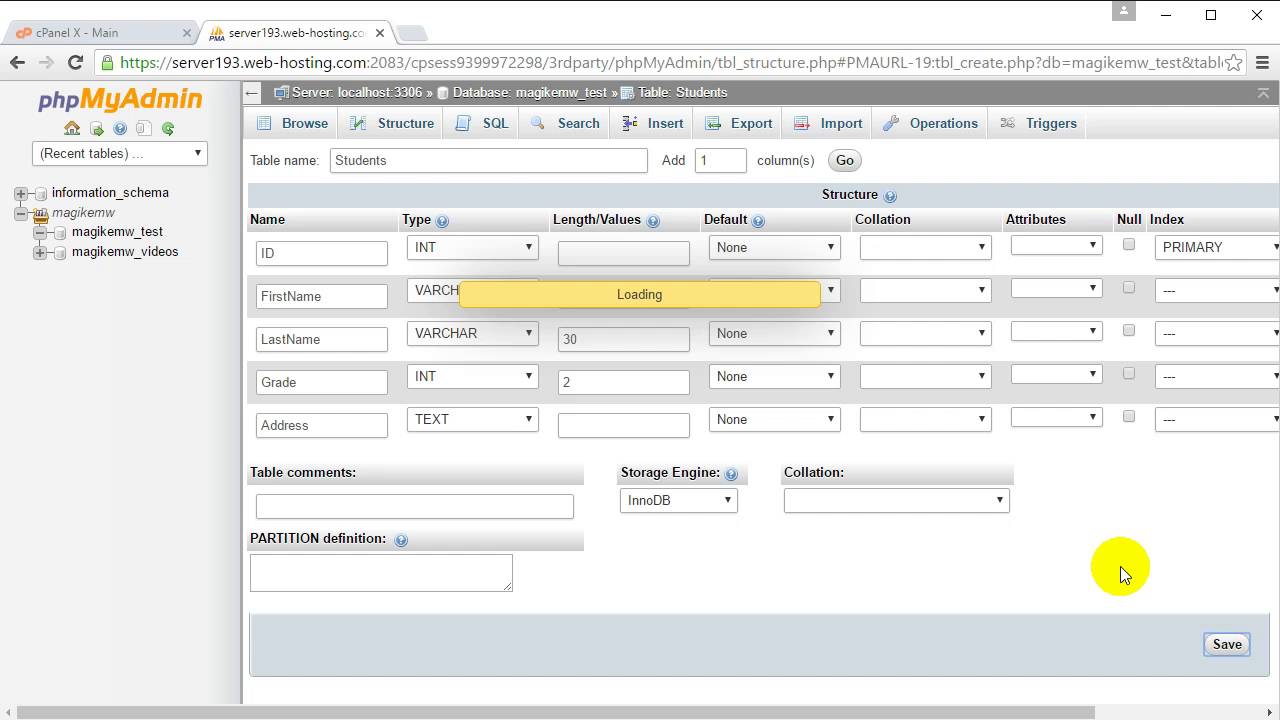
Creating a New Table in PhpMyAdmin
PhpMyAdmin is a popular tool used for managing MySQL databases. One of the common tasks when working with databases is creating new tables to store data. In this article, we will guide you through the process of creating a new table in PhpMyAdmin.
Step 1: Access PhpMyAdmin
First, you need to access PhpMyAdmin. You can do this by visiting the URL of your PhpMyAdmin installation in your web browser. Once you are on the PhpMyAdmin interface, select the database where you want to create the new table.
Step 2: Click on the “SQL” Tab
After selecting the database, click on the “SQL” tab in the PhpMyAdmin interface. This will open up a SQL query window where you can enter the SQL commands to create a new table.
Step 3: Write the SQL Command to Create a New Table
To create a new table, you need to write an SQL command. The basic syntax for creating a new table is as follows:
CREATE TABLE table_name ( column1 datatype, column2 datatype, ... );
Replace “table_name” with the name you want to give to your new table. You can define the columns in your table by specifying the column name and data type for each column.
Step 4: Execute the SQL Command
After writing the SQL command to create a new table, click on the “Go” button to execute the query. PhpMyAdmin will create the new table in the selected database.
Step 5: Verify the New Table
You can verify that the new table has been created by checking the list of tables in the database. The new table should appear in the list, and you can click on it to view its structure and data.
That’s it! You have successfully created a new table in PhpMyAdmin. You can now start adding columns and inserting data into your new table. Happy database management!
