Import Contacts into Exchange: A Comprehensive Guide

Are you looking to import contacts into Exchange for easy access and management? Look no further! In this guide, we’ll walk you through the step-by-step process of importing contacts into Exchange.
Step 1: Prepare Your Contacts for Import
Before you begin the importing process, make sure that your contacts are organized and formatted correctly. Ensure that the contact details are up-to-date and accurate to avoid any issues during the import.
- Ensure that the contacts are saved in a compatible file format such as CSV or PST.
- Check for any duplicate contacts and remove them to avoid clutter in your Exchange database.
- Update any outdated contact information to ensure that your contacts’ details are current.
Step 2: Access the Exchange Admin Center
Next, you’ll need to access the Exchange Admin Center to import your contacts. Open your web browser and navigate to the Exchange Admin Center login page. Enter your credentials to log in to the Admin Center.
Once you’re logged in, navigate to the contacts section and look for the import contacts option. Click on the import contacts button to proceed to the next step.
Step 3: Select the Contact File to Import
After clicking on the import contacts button, you’ll be prompted to select the contact file that you’d like to import into Exchange. Click on the browse button to locate the file on your computer and select it for import.
Ensure that the file you select is in the correct format (CSV or PST) and contains the contact details that you want to import. Double-check the file before proceeding to avoid any errors during the import process.
Step 4: Map Contact Fields
Before the import process can be completed, you’ll need to map the contact fields in the imported file to the fields in Exchange. This step is crucial to ensure that the contact details are imported correctly and displayed accurately.
Match each contact field in the imported file to the corresponding field in Exchange, such as name, email address, phone number, etc. Verify the mapping to avoid any discrepancies in the imported contacts.
Step 5: Complete the Import Process
Once you’ve mapped the contact fields, you can proceed to complete the import process. Review the import settings and make any necessary adjustments before finalizing the import.
Click on the import button to start importing your contacts into Exchange. Depending on the size of the contact file, the import process may take some time to complete. Once the import is successful, you’ll see a confirmation message on the screen.
Step 6: Verify Imported Contacts
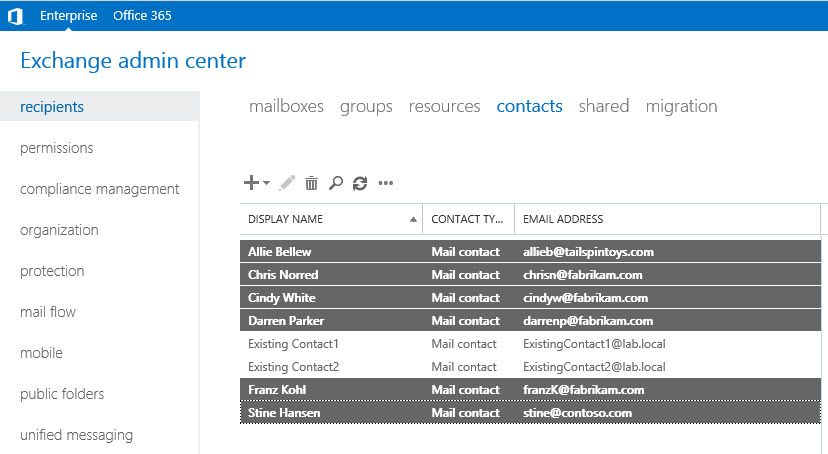
After the import process is complete, it’s important to verify that your contacts have been successfully imported into Exchange. Navigate to the contacts section in the Exchange Admin Center to check if the imported contacts are listed.
Verify the contact details of a few imported contacts to ensure that the import was successful. If you notice any discrepancies or missing contacts, you can re-import the contacts using the same process.
Final Thoughts
Importing contacts into Exchange is a straightforward process that can help you streamline your contact management and communication tasks. By following the steps outlined in this guide, you can quickly and easily import your contacts into Exchange for seamless access and organization.
Whether you’re a business professional looking to import your contact list or an individual user wanting to transfer your contacts to Exchange, this guide is designed to help you through the process smoothly. Importing contacts into Exchange has never been easier!
