How to Create an Email in Mailchimp
Creating an email campaign in Mailchimp is a straightforward process that can help you connect with your audience and drive engagement. Whether you’re a seasoned pro or new to email marketing, this guide will walk you through the steps to create a compelling email in Mailchimp.
Step 1: Log in to Your Mailchimp Account
The first step in creating an email campaign in Mailchimp is to log in to your account. If you don’t already have a Mailchimp account, you can easily sign up for a free account on their website. Once you’re logged in, you’ll be taken to the dashboard where you can access all of Mailchimp’s features.
Step 2: Create a New Campaign
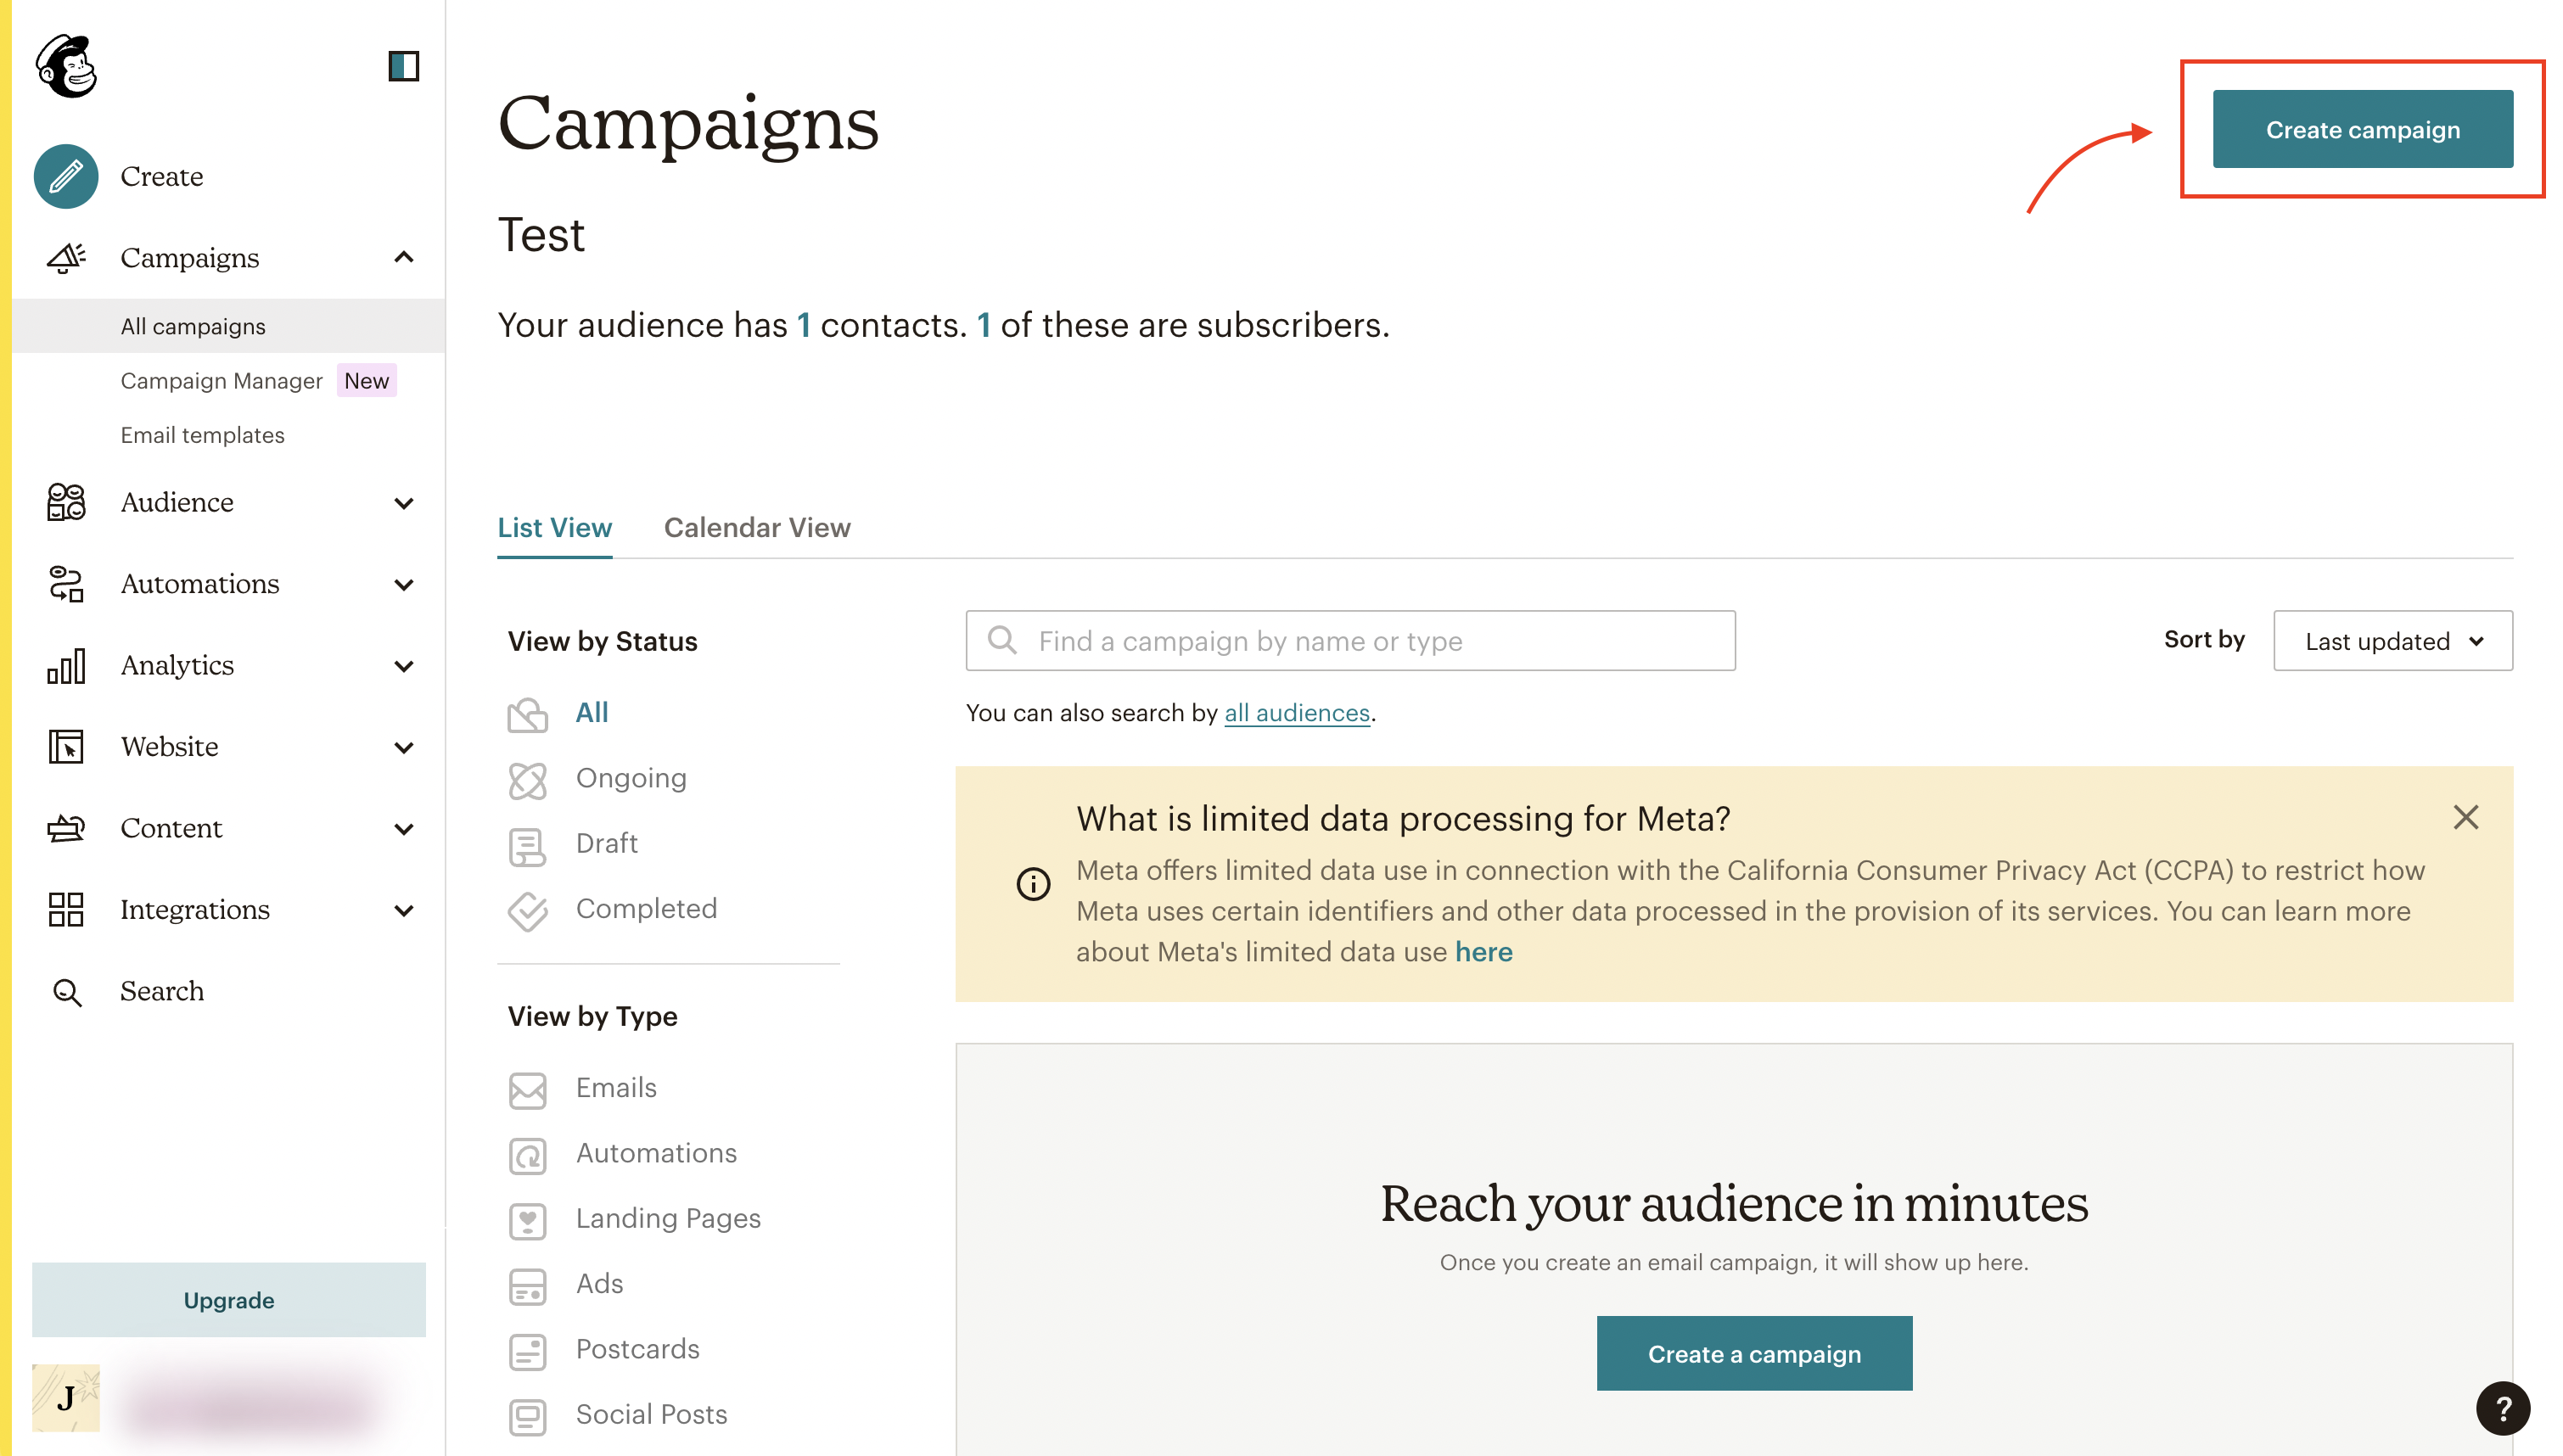
Once you’re logged in to your Mailchimp account, navigate to the Campaigns tab and click on the Create Campaign button. From here, you’ll be prompted to choose the type of campaign you want to create. Select Email and then click Begin.
Step 3: Choose a Template
Mailchimp offers a variety of pre-designed templates to choose from, making it easy to create a professional-looking email. Select a template that best fits your brand and message, or choose to start from scratch. Once you’ve selected a template, click on the Design Email button to begin customizing your email.
Step 4: Customize Your Email
Customizing your email is where you can really make it your own. Add your branding, images, and content to create a visually appealing email that captures your audience’s attention. Mailchimp’s drag-and-drop editor makes it easy to add and edit content, so feel free to get creative!
Step 5: Review and Test Your Email
Before you send out your email campaign, it’s important to review and test it to ensure everything looks and functions correctly. Use Mailchimp’s preview feature to see how your email will look on different devices, and send a test email to yourself to make sure it appears as intended.
Step 6: Schedule or Send Your Email
Once you’re satisfied with your email campaign, it’s time to schedule or send it out to your subscribers. You can choose to send it immediately or schedule it for a later date and time. Mailchimp also offers advanced features like A/B testing and segmentation to help you optimize your email campaigns for better results.
Step 7: Analyze Your Results
After sending out your email campaign, it’s important to analyze the results to see how it performed. Mailchimp provides detailed analytics on open rates, click-through rates, and more, so you can see what worked well and what can be improved for future campaigns. Use this data to refine your email marketing strategy and drive even better results in the future.
Creating an email in Mailchimp is a simple process that can have a big impact on your marketing efforts. By following these steps and utilizing Mailchimp’s powerful features, you can create engaging and effective email campaigns that connect with your audience and drive results.
