Hotmail Server Settings iPhone POP3
Are you looking to set up your Hotmail email account on your iPhone using POP3 settings? Don’t worry, we’ve got you covered. In this step-by-step guide, we will walk you through the process of configuring your Hotmail server settings on your iPhone using the POP3 protocol.
First, let’s start by ensuring that you have the necessary information to set up your Hotmail account on your iPhone. You will need your Hotmail email address, password, incoming POP server settings, and outgoing SMTP server settings. Once you have gathered all this information, follow the steps below to configure your account.
Step 1: Open Settings
On your iPhone, navigate to the Settings app and tap on “Passwords & Accounts.”
Step 2: Add Account
Tap on “Add Account” and select “Other” from the list of account types.
Step 3: Enter Account Information
Enter your Hotmail email address and password, then tap “Next.”
Step 4: Configure POP3 Settings
For incoming mail server settings, enter “pop3.live.com” in the hostname field. Enter your full Hotmail email address as the username and your password. Make sure SSL is enabled and the port is set to 995.
For outgoing mail server settings, enter “smtp.live.com” in the hostname field. Enter your full Hotmail email address as the username and your password. Make sure SSL is enabled and the port is set to 587.
Step 5: Save Settings
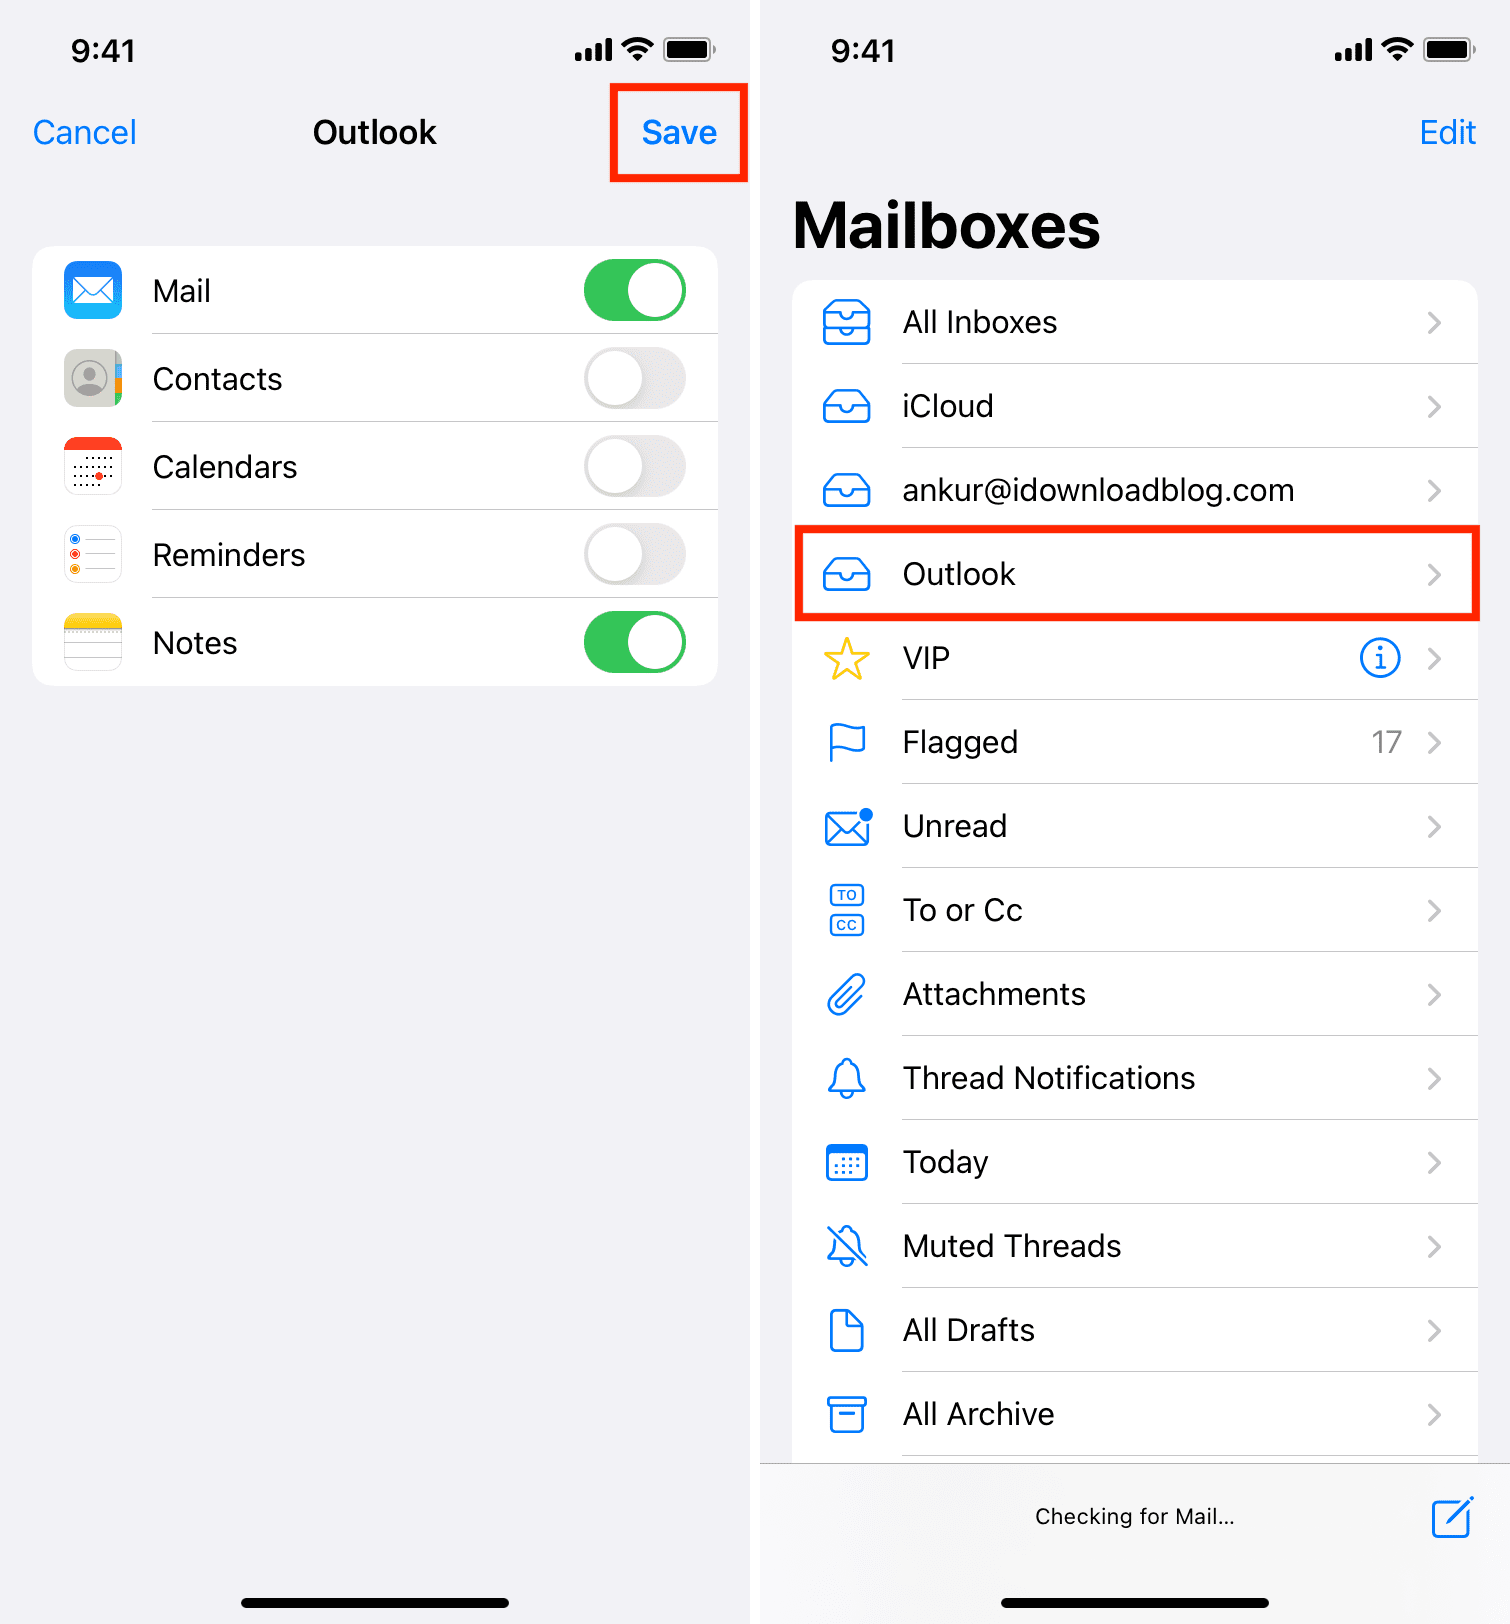
After entering all the required information, tap “Save” to save your Hotmail account settings on your iPhone.
That’s it! You have successfully configured your Hotmail email account on your iPhone using POP3 settings. Now you can send and receive emails from your Hotmail account directly from your iPhone.
If you encounter any issues during the setup process, double-check your settings and ensure that all the information is entered correctly. If you are still unable to set up your Hotmail account, you may need to contact Hotmail support for further assistance.
We hope this guide has been helpful in setting up your Hotmail account on your iPhone. If you have any questions or need further assistance, feel free to reach out to us. Happy emailing!
