Setting Up Ipower Pop Mail Settings: A Step-by-Step Guide
Are you looking to set up your Ipower pop mail settings but not sure where to start? Look no further! In this comprehensive guide, we will walk you through the process step by step to ensure you can easily configure your email settings and start using your Ipower email account without any hassle. Let’s dive right in!
What is Pop Mail?
Before we delve into setting up your Ipower pop mail settings, let’s first understand what Pop Mail is. Pop Mail, also known as Post Office Protocol, is an email protocol used by your email client to retrieve emails from a remote server. In simpler terms, Pop Mail allows you to download your emails from the server to your device, making it accessible offline.
Steps to Configure Ipower Pop Mail Settings
Step 1: Gather Required Information
Before you begin setting up your Ipower pop mail settings, you will need to gather some essential information. This includes your email address, password, incoming mail server, and outgoing mail server. You can easily find this information in your Ipower account settings or contact their customer support for assistance.
Step 2: Access Your Email Client Settings
Next, open your email client (such as Outlook, Thunderbird, or Apple Mail) and navigate to the settings menu. Look for the option to add a new email account or configure mail settings. This is where you will input the information you gathered in step 1 to set up your Ipower pop mail settings.
Step 3: Input Your Ipower Mail Server Information
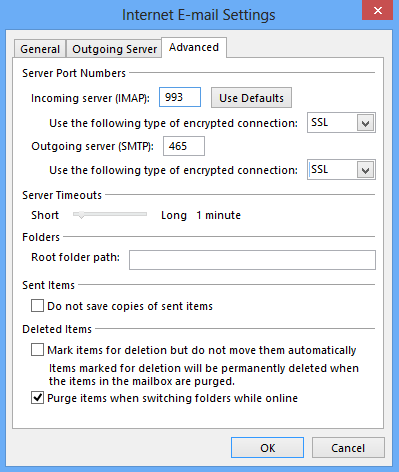
Now, it’s time to input your Ipower mail server information. For the incoming mail server, enter “pop.yourdomain.com” (replace “yourdomain.com” with your actual domain name). For the outgoing mail server, enter “smtp.yourdomain.com.” Make sure to enable SSL encryption for both incoming and outgoing mail servers to ensure a secure connection.
Step 4: Input Your Email Address and Password
Once you have entered the mail server information, you will be prompted to input your email address and password. Ensure you enter the correct details to avoid any login errors. You may also have the option to enter additional settings such as mail retrieval frequency and account display name.
Step 5: Test Your Settings
After you have completed the setup process, it’s crucial to test your Ipower pop mail settings to ensure everything is working correctly. Send a test email to yourself or ask a friend to send you an email to verify that you can send and receive emails without any issues.
Conclusion
Setting up your Ipower pop mail settings may seem daunting at first, but by following the steps outlined in this guide, you can easily configure your email account and start communicating with others in no time. Remember to double-check your settings and reach out to Ipower customer support if you encounter any difficulties. Happy emailing!
