How to Create Tables in SQLite Database
SQLite is a popular relational database management system that allows you to store and manage data efficiently. One of the key components of working with SQLite is creating tables to organize and structure your data. In this tutorial, we will take you through the steps to create tables in an SQLite database.
Step 1: Create a New Database
The first step in creating tables in SQLite is to create a new database. You can do this by using the sqlite3 command in the terminal. For example, to create a new database named mydatabase.db, you can run the following command:
sqlite3 mydatabase.db
This will create a new SQLite database file in the current directory with the name mydatabase.db.
Step 2: Connect to the Database
Once you have created a new database, the next step is to connect to it using the .open command. For example, to connect to the mydatabase.db file, you can run the following command:
.open mydatabase.db
This will establish a connection to the database file, allowing you to perform operations such as creating tables.
Step 3: Create a Table
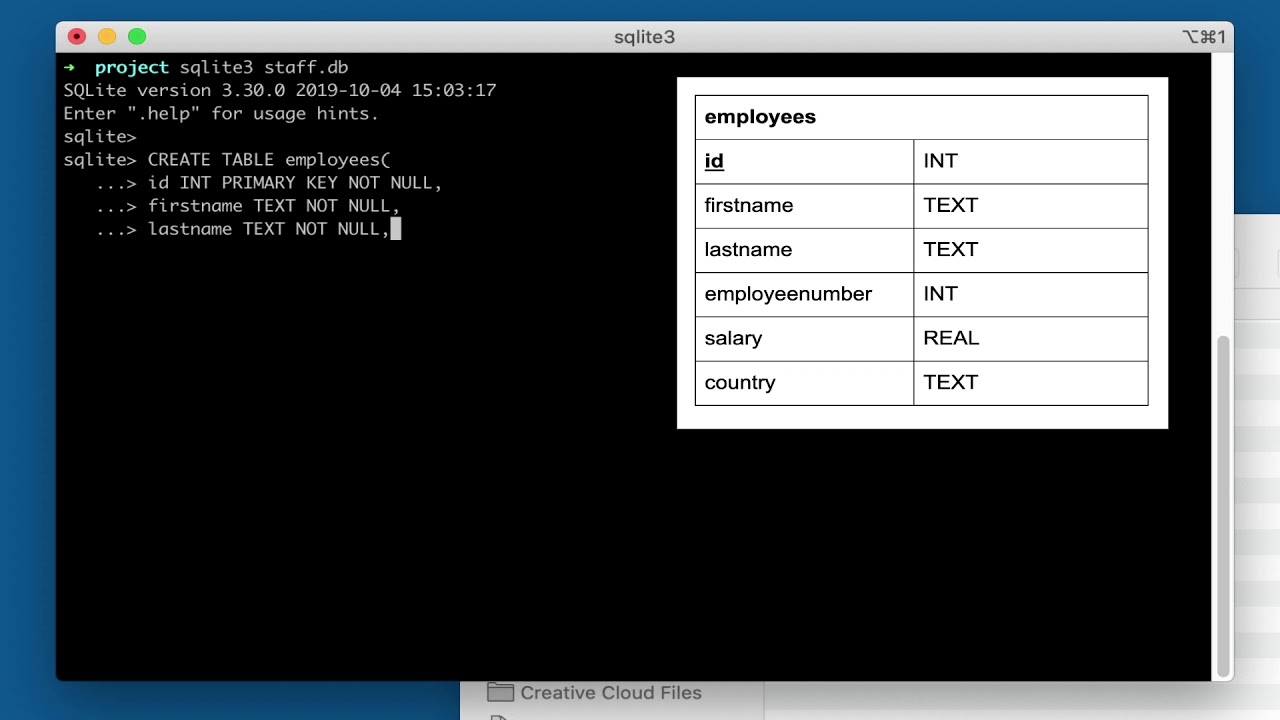
Now that you have created a new database and connected to it, you can proceed to create a table. To create a table in SQLite, you need to use the CREATE TABLE statement followed by the table name and column definitions.
For example, let’s create a table named users with columns for id, name, and email:
CREATE TABLE users (
id INTEGER PRIMARY KEY,
name TEXT,
email TEXT
);
This SQL statement creates a table named users with three columns: id as the primary key, name as a text field, and email as a text field.
Step 4: Verify the Table
After creating a table, you can verify its existence by using the .schema command in the SQLite terminal. This command will display the schema of the database, including the table you just created.
.schema
Running this command will show you the SQL statements used to create the table, confirming that it was created successfully.
Step 5: Insert Data into the Table
Once you have created a table, you can start inserting data into it using the INSERT INTO statement. For example, to insert a new user into the users table, you can run the following SQL statement:
INSERT INTO users (name, email) VALUES ('John Doe', 'johndoe@example.com');
This SQL statement inserts a new user with the name ‘John Doe’ and email ‘johndoe@example.com’ into the users table.
Conclusion
Creating tables in an SQLite database is essential for organizing and managing your data effectively. By following the steps outlined in this tutorial, you can create tables and start storing data in your SQLite database. Remember to practice creating tables with different column types and constraints to become familiar with SQLite’s capabilities.
Happy coding!
