Setting Up DKIM for Gmail: A Step-by-Step Guide
DKIM, which stands for DomainKeys Identified Mail, is a technical standard that helps prevent email spoofing and phishing by verifying the authenticity of the sender’s domain. By setting up DKIM for your Gmail account, you can increase the deliverability of your emails and ensure that they are not marked as spam or phishing attempts. In this guide, we will walk you through the process of setting up DKIM for Gmail.
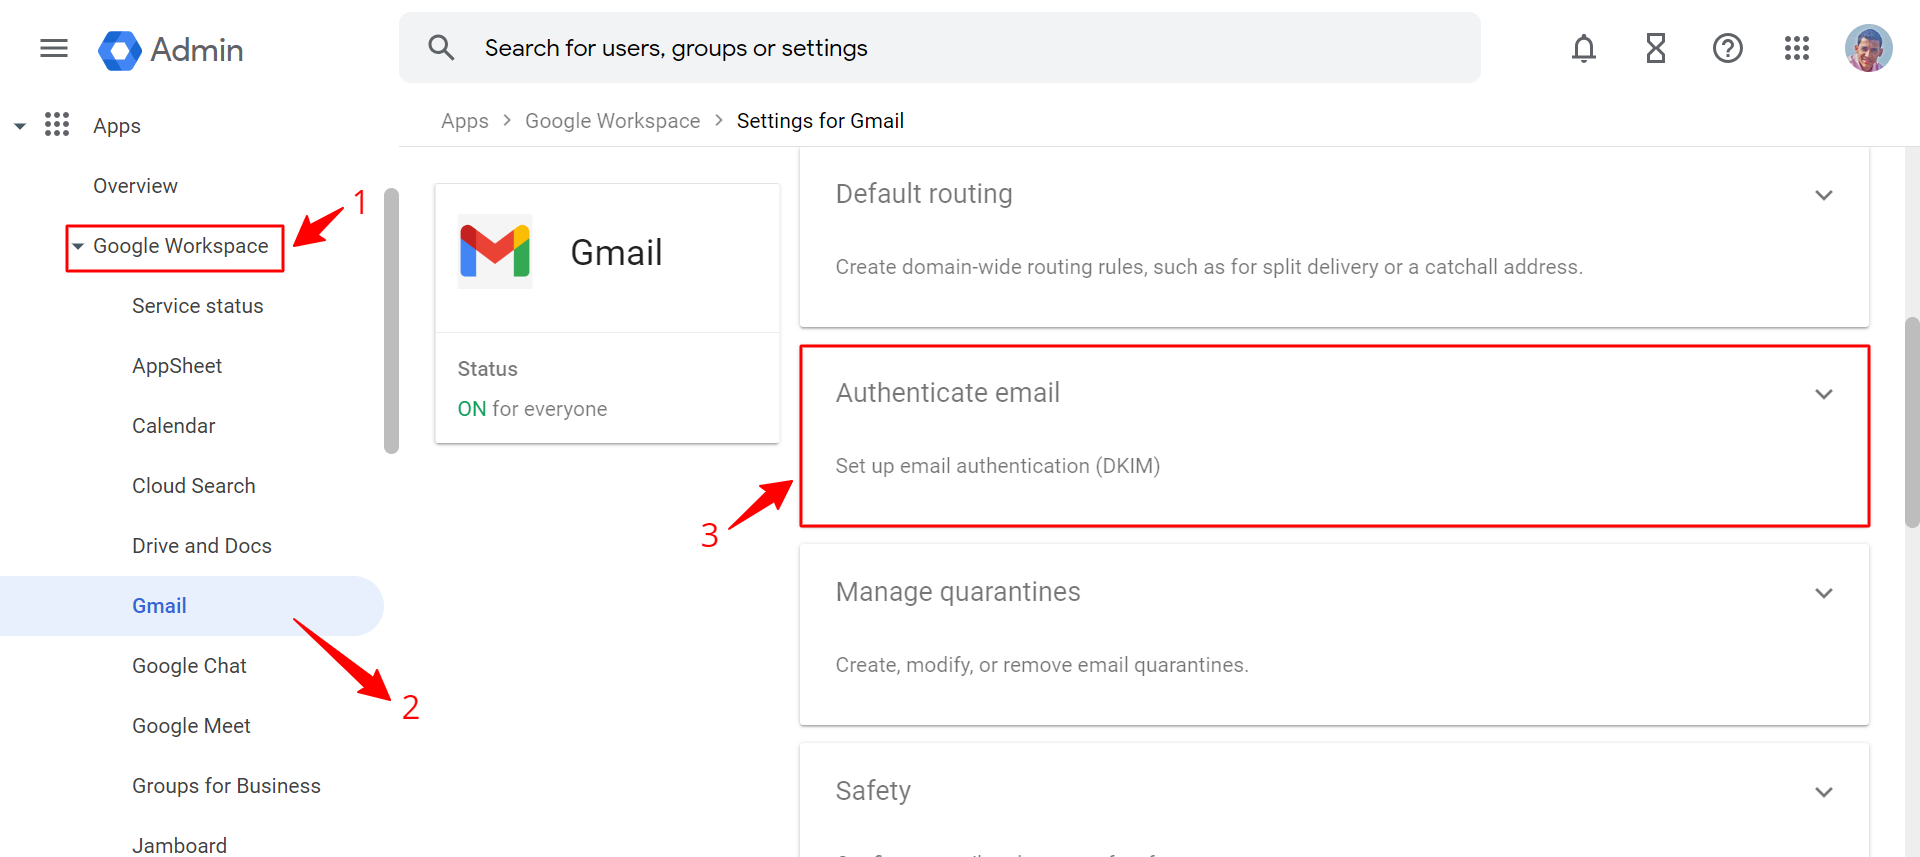
Step 1: Generate DKIM Keys
The first step in setting up DKIM for Gmail is to generate DKIM keys for your domain. You can do this by accessing your domain’s DNS settings and creating a new DKIM record. Most domain registrars and hosting providers have a section in their control panel where you can generate DKIM keys.
Once you have generated the DKIM keys, you will need to copy the public key and add it to your domain’s DNS records. This will allow Gmail to verify the authenticity of emails sent from your domain.
Step 2: Add DKIM Record to DNS
After generating the DKIM keys, you will need to add the DKIM record to your domain’s DNS settings. This involves adding a new TXT record that includes the public key generated in Step 1. The exact process for adding a DKIM record to your DNS settings will vary depending on your domain registrar or hosting provider.
Once the DKIM record has been added to your DNS settings, it may take some time for the changes to propagate. This process can take anywhere from a few hours to 48 hours, so be patient.
Step 3: Verify DKIM Setup
After adding the DKIM record to your domain’s DNS settings, you will need to verify that the setup was successful. You can do this by sending a test email from your Gmail account to a different email address and checking the email headers for the DKIM authentication result. If the DKIM authentication result shows as “pass,” then the setup was successful.
If the DKIM authentication result shows as “fail,” then there may be an issue with the DKIM setup. In this case, you will need to double-check the DKIM record in your DNS settings and ensure that it is correctly configured.
Step 4: Monitor DKIM Authentication
Once you have set up DKIM for Gmail, it is important to monitor the DKIM authentication results regularly. This will help you ensure that your emails are being authenticated correctly and that there are no issues with the DKIM setup.
You can monitor the DKIM authentication results by checking the email headers of emails sent from your domain. If you notice any issues with the DKIM authentication results, you may need to troubleshoot the DKIM setup or reach out to your domain registrar or hosting provider for assistance.
Conclusion
Setting up DKIM for Gmail can help increase the deliverability of your emails and protect your domain from email spoofing and phishing attempts. By following the steps outlined in this guide, you can ensure that your emails are authenticated correctly and that they are not marked as spam or phishing attempts.
