How to Whitelist Emails
Whitelisting emails is an important process to ensure that important emails do not get caught in your spam or junk folders. It allows you to mark certain email addresses or domains as safe, so they bypass any filters and always land in your inbox. This ensures that you never miss out on important messages from friends, family, or work contacts. In this guide, we will show you step-by-step how to whitelist emails on different email platforms.
Gmail
If you use Gmail, you can easily whitelist emails by creating a filter. Here’s how:
- Open Gmail and log in to your account.
- Click on the gear icon in the top right corner and select “Settings” from the dropdown menu.
- Go to the “Filters and Blocked Addresses” tab.
- Click on “Create a new filter” at the bottom of the page.
- In the “From” field, enter the email address you want to whitelist.
- Click “Create filter” and then check the box next to “Never send it to Spam”.
- Click “Create filter” to save your changes.
Outlook
Outlook also allows you to whitelist emails by adding senders to your Safe Senders list. Follow these steps:
- Open Outlook and log in to your account.
- Click on the gear icon in the top right corner and select “View all Outlook settings”.
- Go to the “Mail” tab and then “Junk email”.
- Under the “Safe senders and domains” section, click on “Add” and enter the email address or domain you want to whitelist.
- Click “Save” to add the sender to your Safe Senders list.
Yahoo Mail
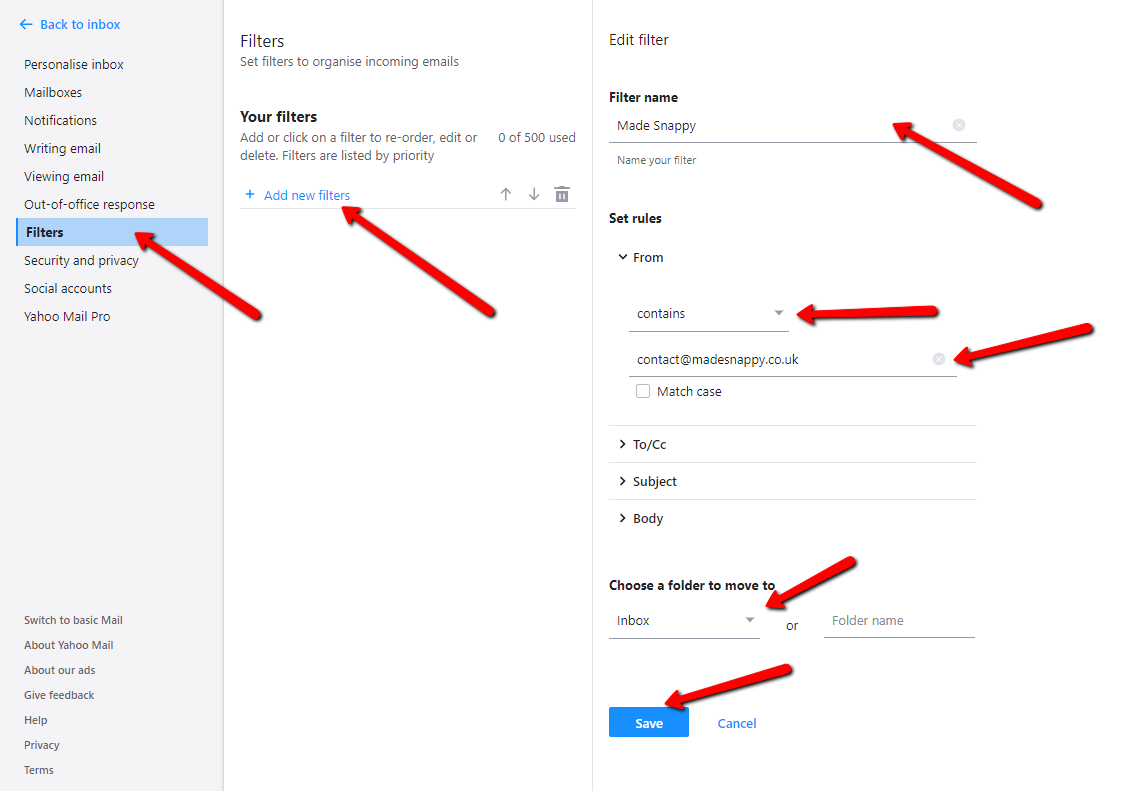
For Yahoo Mail users, whitelisting emails is also simple. Here’s how you can do it:
- Open Yahoo Mail and log in to your account.
- Click on the gear icon in the top right corner and select “More Settings”.
- Go to the “Security and Privacy” tab.
- Scroll down to the “Blocked Addresses” section and click on “Add”.
- Enter the email address or domain you want to whitelist and click “Save”.
- The sender will now be added to your Allowed List.
iCloud Mail
If you use iCloud Mail, you can whitelist emails by marking them as not junk. Follow these steps:
- Open iCloud Mail and log in to your account.
- Go to the “Junk” folder and find the email you want to whitelist.
- Right-click on the email and select “Move to Inbox”.
- The email will now be moved to your inbox and future emails from the same sender will not be marked as junk.
Whitelisting emails is a simple yet effective way to ensure that important messages always reach your inbox. By following the steps outlined for your email platform, you can easily whitelist emails from friends, family, and work contacts, reducing the chances of missing out on important information. Take the time to whitelist your important contacts today and enjoy a clutter-free inbox!
