How to Setup a Secure SSH Server on Ubuntu
Secure Shell (SSH) is a crucial tool for remotely accessing and managing servers. Ensuring that your SSH server is set up securely is essential for protecting your server from unauthorized access and potential security breaches. In this guide, we will walk you through the steps to set up a secure SSH server on an Ubuntu operating system.
Step 1: Update the System
Before you begin setting up your SSH server, it’s important to make sure that your system is up to date. Run the following commands to update your Ubuntu system:
sudo apt update
sudo apt upgrade
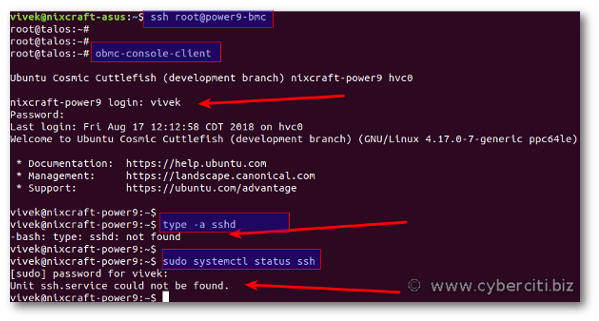
Step 2: Install SSH Server
Next, you need to install the SSH server package on your Ubuntu system. Run the following command to install the OpenSSH server:
sudo apt install openssh-server
Step 3: Configure SSH Server
Once the installation is complete, you need to configure the SSH server to enhance security. Open the SSH configuration file using a text editor such as Nano:
sudo nano /etc/ssh/sshd_config
Here are some recommendations for securing your SSH server:
- Change the default SSH port (usually 22) to a custom port
- Disable root login
- Use key-based authentication instead of password authentication
- Set up a firewall to restrict access to the SSH server
Make sure to save the changes to the configuration file and restart the SSH server using the following commands:
sudo systemctl restart sshd
Step 4: Test SSH Connection
Finally, it’s time to test your SSH connection to ensure that everything is set up correctly. Use the following command to connect to your SSH server:
ssh username@server_ip -p custom_port
If you are able to successfully connect to the server, then your secure SSH server setup is complete!
Conclusion
Setting up a secure SSH server on Ubuntu is a critical step in ensuring the security of your server. By following the steps outlined in this guide, you can create a secure environment for remote access and management of your server.
