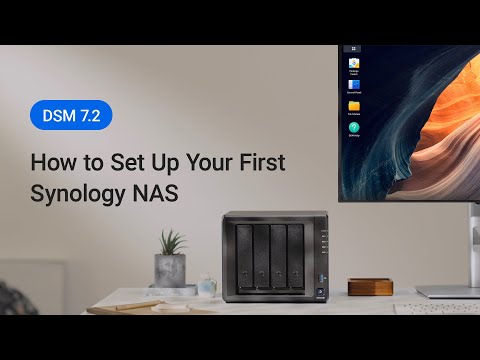
How to Set Up a Synology NAS
If you’re looking to set up a Synology NAS, you’re in the right place! Synology NAS (Network Attached Storage) devices are a great way to store and access your important files and data from anywhere. Whether you’re a small business looking for a centralized storage solution or a home user wanting to back up your photos and videos, setting up a Synology NAS is a straightforward process.
Step 1: Unboxing and Connecting Your Synology NAS
The first step to setting up your Synology NAS is unboxing the device and connecting it to your network. Start by finding a suitable location for your NAS, preferably near your internet router to ensure a stable connection. Once you’ve found the right spot, connect the power adapter and network cable to the NAS. Power on the device and wait for it to boot up.
Step 2: Accessing the Synology DiskStation Manager (DSM)
Once your Synology NAS is powered on, you can access the DiskStation Manager (DSM) interface by entering the NAS IP address into your web browser. The initial setup wizard will guide you through creating an administrator account and setting up your storage volumes. Make sure to follow the on-screen instructions carefully to ensure a smooth setup process.
Step 3: Configuring Your Storage Volumes
After completing the initial setup wizard, you can start configuring your storage volumes on the Synology NAS. You can create multiple volumes for different purposes, such as data backup, media streaming, or file sharing. Make sure to choose the appropriate RAID level for your needs to ensure data redundancy and protection against hardware failures.
Step 4: Setting Up User Accounts and Permissions
Once you’ve set up your storage volumes, it’s time to create user accounts and set up permissions for accessing the NAS. You can create individual accounts for each user or group users together for easier management. Assign read and write permissions carefully to ensure data security and privacy.
Step 5: Installing and Configuring Apps on Your Synology NAS
Synology NAS devices come with a wide range of built-in and third-party apps that can enhance the functionality of your NAS. From media servers to file synchronization tools, you can install and configure apps that suit your needs. Take your time to explore the available apps and customize your NAS to fit your requirements.
Step 6: Backing Up Your Data
One of the most important aspects of setting up a Synology NAS is backing up your data regularly. You can use the built-in backup tools to schedule automated backups of your files to external drives or cloud storage services. Make sure to set up a reliable backup strategy to protect your data from accidental deletion or hardware failures.
Step 7: Maintaining and Updating Your Synology NAS
Regular maintenance and updates are essential to keep your Synology NAS running smoothly and securely. Check for software updates regularly and install them to ensure your NAS has the latest features and security patches. Additionally, monitor your storage volumes and system health to address any issues proactively.
Conclusion
Setting up a Synology NAS is a straightforward process that can greatly enhance your data storage and access capabilities. By following the steps outlined in this guide, you can create a reliable and secure storage solution for your personal or business needs. Remember to back up your data regularly and stay up to date with software updates to ensure the optimal performance of your Synology NAS.
