How to set up a VPN tunnel
Setting up a VPN tunnel is a great way to secure your internet connection and protect your privacy online. In this article, we will guide you through the process of setting up a VPN tunnel on your device, whether you are using a computer, smartphone, or tablet.
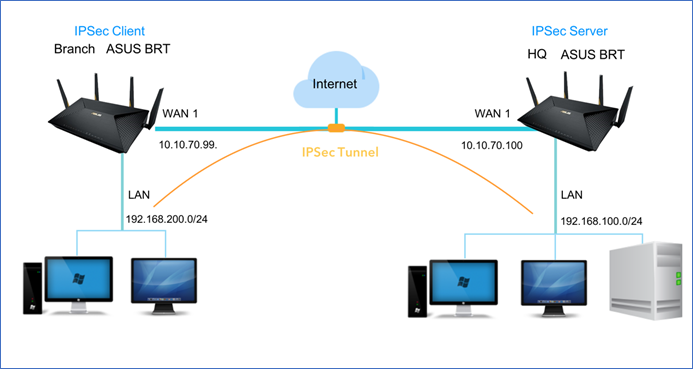
Before we begin, let’s first understand what a VPN tunnel is and why you might want to use one. A VPN tunnel is a secure connection between your device and a remote server, encrypting your internet traffic and hiding your IP address. This ensures that your online activities are private and secure, especially when using public Wi-Fi networks or accessing sensitive information.
Step 1: Choose a VPN provider
The first step in setting up a VPN tunnel is to choose a reputable VPN provider. There are many VPN services available, so make sure to do your research and choose one that offers strong encryption, a no-logs policy, and fast connection speeds.
Some popular VPN providers include NordVPN, ExpressVPN, and CyberGhost. Once you have selected a VPN provider, sign up for a subscription and download the VPN client on your device.
Step 2: Install the VPN client
After you have signed up for a VPN subscription, download and install the VPN client on your device. Most VPN providers offer user-friendly applications for various devices and operating systems, making it easy to set up a VPN tunnel.
Follow the on-screen instructions to install the VPN client on your device. You may need to create an account with the VPN provider and log in to the client using your credentials.
Step 3: Connect to a VPN server
Once you have installed the VPN client on your device, launch the application and connect to a VPN server. VPN servers are located all around the world, and you can choose a server location based on your needs, such as accessing geo-restricted content or improving connection speeds.
Click on the connect button within the VPN client to establish a secure connection to the VPN server. Once connected, your internet traffic will be encrypted and routed through the VPN tunnel, ensuring your online activities are private and secure.
Step 4: Verify your connection
After connecting to a VPN server, it’s essential to verify that your VPN tunnel is working correctly. Visit a website that displays your IP address, such as WhatIsMyIP.com, to confirm that your IP address is masked by the VPN server’s IP address.
You can also conduct DNS leak tests and WebRTC leak tests to ensure that your internet traffic is securely encrypted and not leaking outside of the VPN tunnel.
Step 5: Enjoy a secure internet connection
Once you have set up a VPN tunnel on your device, you can enjoy a secure and private internet connection. Whether you are browsing the web, streaming your favorite content, or working remotely, a VPN tunnel will encrypt your internet traffic and protect your online activities from prying eyes.
Remember to disconnect from the VPN server when you no longer need a secure connection, as maintaining a VPN connection can slow down your internet speed and affect your browsing experience.
Setting up a VPN tunnel is a simple and effective way to enhance your online security and privacy. Follow the steps outlined in this article to set up a VPN tunnel on your device and enjoy a worry-free internet experience.
