Apache SSL Configuration Step by Step
Configuring an SSL certificate on your Apache web server is essential to ensure secure communication between your server and user’s browsers. In this step-by-step guide, we will walk you through the process of setting up SSL for your Apache server.
Step 1: Install SSL Certificate
The first step is to obtain an SSL certificate from a trusted certificate authority. You can purchase an SSL certificate from a provider like Let’s Encrypt, Comodo, or GeoTrust.
Once you have obtained the SSL certificate, you will need to install it on your Apache server. You can do this by copying the certificate and key files to a secure location on your server.
Step 2: Enable SSL Module
Next, you will need to enable the SSL module on your Apache server. You can do this by running the following command:
a2enmod ssl
This command will enable the SSL module, which is required for Apache to support SSL encryption.
Step 3: Configure SSL Virtual Host
Now, you will need to configure the SSL virtual host on your Apache server. You can do this by creating a new configuration file for your SSL site.
To create a new SSL virtual host configuration file, you can run the following command:
sudo nano /etc/apache2/sites-available/yourdomain.com-ssl.conf
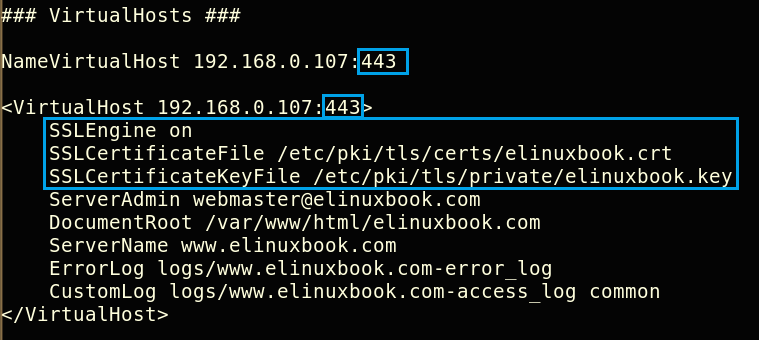
In this file, you will need to add the following configuration:
<VirtualHost *:443>

    ServerName yourdomain.com

    SSLEngine on

    SSLCertificateFile /path/to/yourdomain.com.crt

    SSLCertificateKeyFile /path/to/yourdomain.com.key

</VirtualHost>
Make sure to replace “yourdomain.com” with your actual domain name and the paths to your certificate and key files. Save the configuration file and exit the text editor.
Step 4: Redirect HTTP to HTTPS
To ensure that all traffic to your site is secure, you should configure Apache to redirect HTTP requests to HTTPS. You can do this by modifying the Apache configuration file.
To redirect HTTP to HTTPS, you can add the following lines to your Apache configuration file:
RewriteEngine on

RewriteCond %{SERVER_NAME} =yourdomain.com

RewriteRule ^ https://%{SERVER_NAME}%{REQUEST_URI} [END,NE,R=permanent]
Save the configuration file and restart Apache for the changes to take effect. Now, all HTTP requests to your site will be redirected to the secure HTTPS protocol.
Step 5: Test SSL Configuration
Finally, you should test your SSL configuration to ensure that it is set up correctly. You can use online SSL testing tools like SSL Labs to check the security of your SSL implementation.
Once you have completed these steps, your Apache server should be configured with SSL encryption, ensuring secure communication between your server and users’ browsers.
