How to Enable HTTPS in Apache Web Server
Securing your website with HTTPS is essential to protect the information of your visitors and improve your website’s credibility. In this tutorial, we will guide you through the process of enabling HTTPS on your Apache web server.
Before we begin, make sure you have the following prerequisites:
- A fully functional Apache web server
- Root access to your server
- An SSL certificate (you can obtain one from a trusted certificate authority or use Let’s Encrypt for a free certificate)
Step 1: Install Apache SSL Module
The first step is to install the SSL module for Apache. You can do this by running the following command:
sudo a2enmod ssl
Step 2: Enable SSL Virtual Host
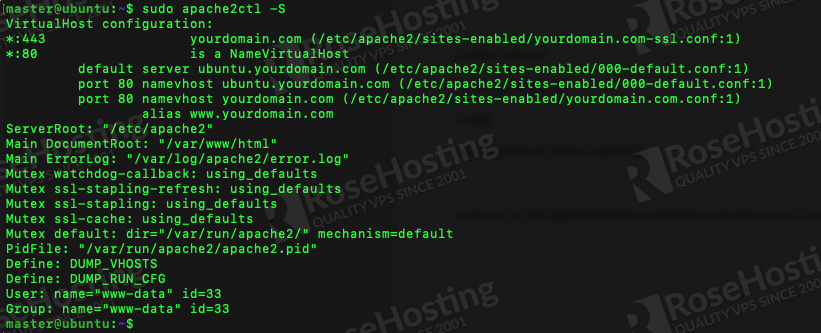
Next, you need to configure a virtual host for SSL. Open your Apache configuration file (usually located in /etc/apache2/sites-available) and add the following lines:
<VirtualHost *:443>
    ServerName yourdomain.com
    SSLEngine on
    SSLCertificateFile /path/to/your/certificate.crt
    SSLCertificateKeyFile /path/to/your/private.key
</VirtualHost>
Step 3: Restart Apache Server
After configuring the virtual host, save the changes and restart your Apache server to apply the new settings:
sudo systemctl restart apache2
Congratulations! Your Apache web server is now configured to use HTTPS. You can test it by accessing your website using https:// in the URL.
Remember to keep your SSL certificate up to date to ensure a secure connection for your visitors. If you encounter any issues, refer to the Apache documentation or seek help from a professional.
We hope this tutorial helped you enable HTTPS on your Apache web server. Stay secure and keep your website safe!
