Installing WHMCS on Your Website
WHMCS (Web Host Manager Complete Solution) is a popular automation platform that is widely used by web hosting companies. It allows you to manage customer accounts, automate billing, and handle support tickets all in one place. If you’re looking to install WHMCS on your website, follow the steps below to get started.
Step 1: Download WHMCS
The first step in installing WHMCS is to download the software from the official WHMCS website. You can choose from various licensing options depending on the size of your business. Once you have purchased and downloaded the software, you will receive a zip file containing all the necessary files.
Step 2: Upload the Files
After downloading the zip file, unzip it on your computer. You will find a folder containing all the WHMCS files. Next, you need to upload these files to your web server using an FTP client. Make sure to upload the files to the directory where you want WHMCS to be installed (e.g., public_html/whmcs).
Step 3: Create a Database
Before you can install WHMCS, you need to create a MySQL database for it to store all your data. Most web hosting control panels like cPanel have a built-in tool for creating databases. Make sure to note down the database name, username, and password as you will need this information during the installation process.
Step 4: Run the Installer
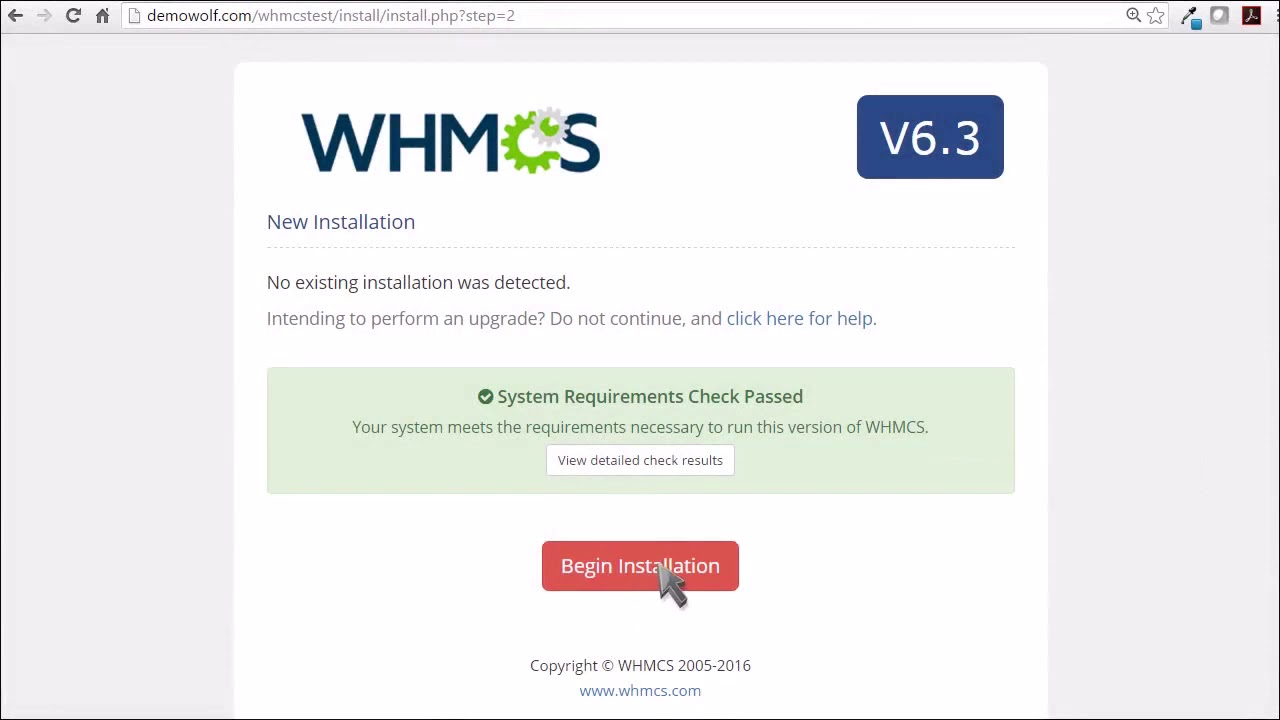
Once you have uploaded the files and created the database, you can now run the WHMCS installer. Simply navigate to the URL where you uploaded the files (e.g., yourdomain.com/whmcs) and follow the on-screen instructions. You will need to enter your license key, database information, and other settings to complete the installation.
Step 5: Set Up WHMCS
After the installation is complete, you can log in to the WHMCS admin panel using the credentials you set during the installation process. From here, you can configure settings, add products/services, and customize the look and feel of your client portal. Take some time to explore all the features that WHMCS has to offer.
Step 6: Integrate Payment Gateways
One of the key features of WHMCS is its ability to integrate with various payment gateways. This allows you to accept payments from your clients seamlessly. Make sure to set up your preferred payment gateways in the WHMCS admin panel and test them to ensure everything is working correctly.
Step 7: Test Your Installation
Before going live with your WHMCS installation, it’s essential to test everything thoroughly. Create some test orders, send test invoices, and make sure that all the functionalities are working as expected. This will help you identify and fix any issues before launching your website.
Conclusion
Installing WHMCS on your website is a straightforward process that can help streamline your web hosting business operations. By following the steps outlined in this guide, you can have WHMCS up and running in no time. Remember to keep your software updated to benefit from the latest features and security fixes.
