How to Change IP Address in VirtualBox
VirtualBox is a popular software that allows you to run multiple operating systems on a single physical machine. However, sometimes you may need to change the IP address of your VirtualBox machine for various reasons. In this article, we will show you how to easily change the IP address in VirtualBox.
Step 1: Start your VirtualBox Machine
First, start your VirtualBox machine that you want to change the IP address for. Once the machine is up and running, log in to the operating system.
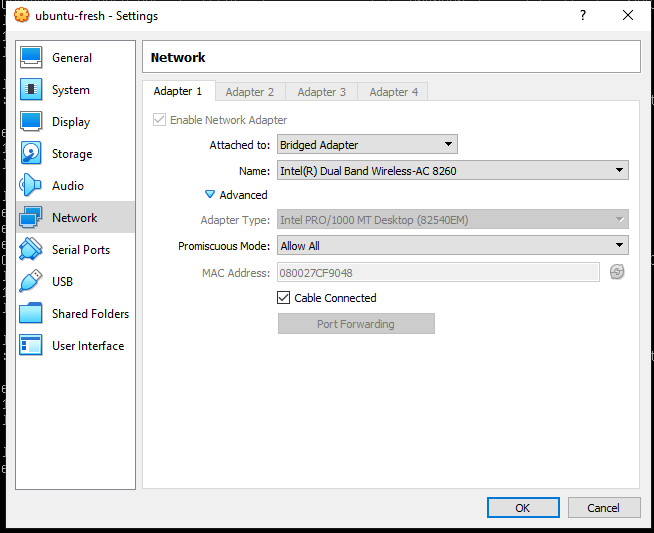
Step 2: Open the Network Settings
Next, open the network settings of your VirtualBox machine. You can do this by clicking on the network icon in the system tray or by going to the network settings in the control panel.
Step 3: Change the IP Address
Now, you will need to change the IP address of your VirtualBox machine. To do this, click on the network adapter settings and then choose the option to manually enter the IP address.
Enter the new IP address that you want to assign to your VirtualBox machine. Make sure to also enter the subnet mask and default gateway for the new IP address.
Step 4: Save the Changes
After you have entered the new IP address, subnet mask, and default gateway, save the changes. You may need to restart your VirtualBox machine for the changes to take effect.
Step 5: Test the New IP Address
Once your VirtualBox machine has restarted, test the new IP address to ensure that it is working correctly. You can do this by pinging the new IP address or by accessing a website from the VirtualBox machine.
Conclusion
Changing the IP address in VirtualBox is a simple process that can be done in just a few steps. By following the steps outlined in this article, you can easily change the IP address of your VirtualBox machine to meet your needs.
