How to Deploy Laravel to a Server
So you’ve developed your Laravel application and now it’s time to deploy it to a server. Congratulations! In this article, we will guide you through the process of deploying a Laravel project to a server, step by step. Let’s dive in!
Step 1: Prepare Your Server
The first step in deploying your Laravel application is to prepare your server. Make sure your server meets the minimum requirements of Laravel. You will need a server with PHP 7.3 or higher, Composer, and a database management system like MySQL or PostgreSQL. You can choose to deploy your Laravel application on a shared hosting server or a VPS.
Step 2: Configure Your Environment
Next, you need to configure your environment. Create a new virtual host for your Laravel project and point it to the public directory inside your project. Make sure to set the document root to the public directory to secure your application. Additionally, update the .env file with your server’s database credentials and other configurations.
Step 3: Set Up Your Database
Now it’s time to set up your database. Create a new database for your Laravel project on your server’s database management system. Update the .env file with the database name, username, and password. Next, run the migration command to create the necessary tables in your database.
Step 4: Install Dependencies
Before deploying your Laravel application, make sure to install all dependencies. Use Composer to install the required packages by running the composer install command in the root directory of your project. This will ensure that all necessary packages are installed on your server.
Step 5: Deploy Your Laravel Application
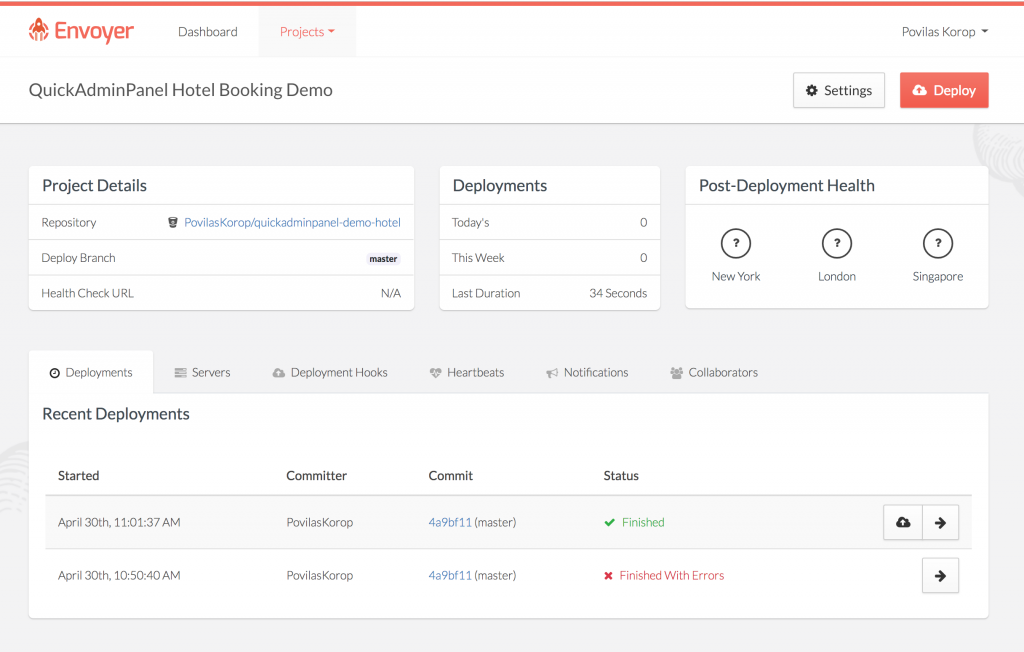
Finally, it’s time to deploy your Laravel application to the server. You can use Git to upload your project files to the server or use a file transfer protocol like FTP. Once your project files are on the server, run the php artisan serve command to start the Laravel server. You can now access your deployed Laravel application via the server’s IP address or domain name.
Conclusion
Congratulations! You have successfully deployed your Laravel application to a server. By following the steps outlined in this article, you can ensure a smooth deployment process for your Laravel project. Remember to regularly update your application, maintain server security, and monitor performance to keep your Laravel application running smoothly. Happy coding!
