How to Set Up NFS Server
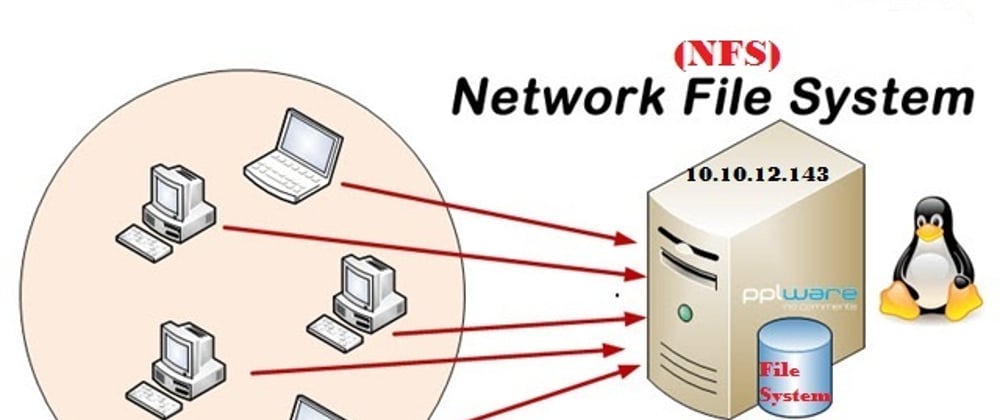
Setting up an NFS (Network File System) server can greatly streamline the process of file sharing and data backup in a network environment. NFS allows multiple clients to access the same files over the network, making it ideal for environments where files need to be shared among multiple users or systems. In this article, we will walk you through the steps of setting up an NFS server on a Linux system.
Step 1: Install NFS Server Software
The first step in setting up an NFS server is to install the necessary software. On most Linux distributions, this can be done using the package manager. For example, on Ubuntu, you can install the NFS server software by running the following command:
sudo apt-get install nfs-kernel-server
Once the installation is complete, you can move on to the next step.
Step 2: Configure NFS Exports
The next step is to configure NFS exports, which specify the directories that will be shared with clients. You can do this by editing the /etc/exports file. For example, to share the /home directory, you can add the following line to the file:
/home *(rw,sync,no_subtree_check)
After making changes to the /etc/exports file, you will need to restart the NFS server for the changes to take effect.
Step 3: Start the NFS Service
Once you have configured the NFS exports, you can start the NFS service to begin sharing files with clients. You can start the NFS service by running the following command:
sudo service nfs-kernel-server start
You can also enable the NFS service to start automatically at boot by running the following command:
sudo systemctl enable nfs-kernel-server
Step 4: Configure Client Access
Once the NFS server is up and running, clients will need to be configured to access the shared directories. This can usually be done by mounting the shared directories on the client systems. For example, to mount the /home directory shared by the NFS server, you can run the following command on the client system:
sudo mount nfs-server:/home /mnt
Replace nfs-server with the hostname or IP address of the NFS server. Once the directory is mounted, clients will be able to access the shared files.
Step 5: Test File Sharing
To ensure that the NFS server is set up correctly and files can be shared successfully, it is important to test file sharing between the server and clients. You can do this by creating a test file on the NFS server and verifying that it can be accessed and modified by clients.
With these steps, you should now have a functioning NFS server that can be used to share files and data across your network. Setting up an NFS server can provide a convenient and efficient way to share files among multiple users or systems in a network environment.
