Setting Up an OpenVPN Server: A Step-by-Step Guide
Are you looking to increase your online security and privacy? Setting up your own OpenVPN server is a great way to achieve that. OpenVPN is an open-source software that allows you to create a secure and encrypted connection over the Internet. In this guide, we will walk you through the process of setting up your own OpenVPN server.
Step 1: Choose a Hosting Provider
The first step in setting up your OpenVPN server is to choose a hosting provider. You will need a virtual private server (VPS) with root access to install and configure OpenVPN. Some popular hosting providers that offer VPS services include DigitalOcean, Linode, and Vultr.
Step 2: Install OpenVPN
Once you have chosen a hosting provider and set up your VPS, the next step is to install OpenVPN. You can easily install OpenVPN on your VPS by running a few simple commands. For example, on a Ubuntu server, you can use the following command:
sudo apt-get update
sudo apt-get install openvpn
After installing OpenVPN, you will need to configure the server settings, including the IP address, port, and encryption settings. You can find detailed instructions on how to do this in the OpenVPN documentation.
Step 3: Generate Certificates
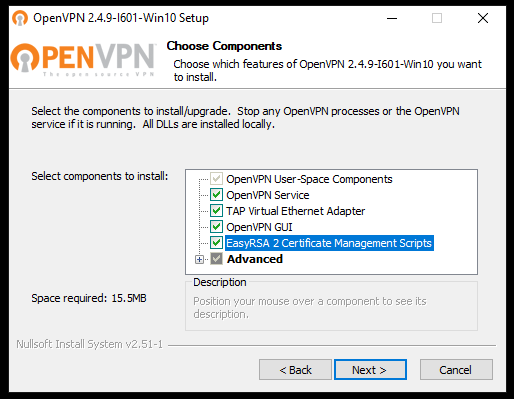
In order to use OpenVPN, you will need to generate certificates for authentication. You can use the easy-rsa package that comes with OpenVPN to generate the necessary certificates. This includes the server certificate, client certificate, and encryption keys.
Step 4: Configure OpenVPN
Now that you have installed OpenVPN and generated the necessary certificates, the next step is to configure OpenVPN. This involves editing the OpenVPN configuration file to specify your server settings, such as the IP address, port, protocol, and encryption settings.
You can find the OpenVPN configuration file at /etc/openvpn/server.conf. Make sure to carefully review and edit the configuration file to match your server settings.
Step 5: Start the OpenVPN Service
After configuring the OpenVPN server, you can start the OpenVPN service by running the following command:
sudo systemctl start openvpn@server
You can also enable the OpenVPN service to start automatically on boot by running the following command:
sudo systemctl enable openvpn@server
Step 6: Connect to Your OpenVPN Server
Congratulations! You have successfully set up your own OpenVPN server. Now, you can connect to your OpenVPN server from any device by using an OpenVPN client. You will need the client certificate and encryption keys that you generated earlier to connect to the server.
By following these simple steps, you can enhance your online security and privacy by setting up your own OpenVPN server. Enjoy secure and encrypted connections while browsing the web!
