Setting up a Proxmox Server: A Step-by-Step Guide
Are you looking to set up your own Proxmox server but not sure where to start? Look no further! In this guide, we will walk you through the process of setting up a Proxmox server from start to finish. Proxmox is a powerful, open-source server virtualization platform that allows you to run multiple virtual machines on a single physical server. Let’s dive in!
Step 1: Download and Install Proxmox
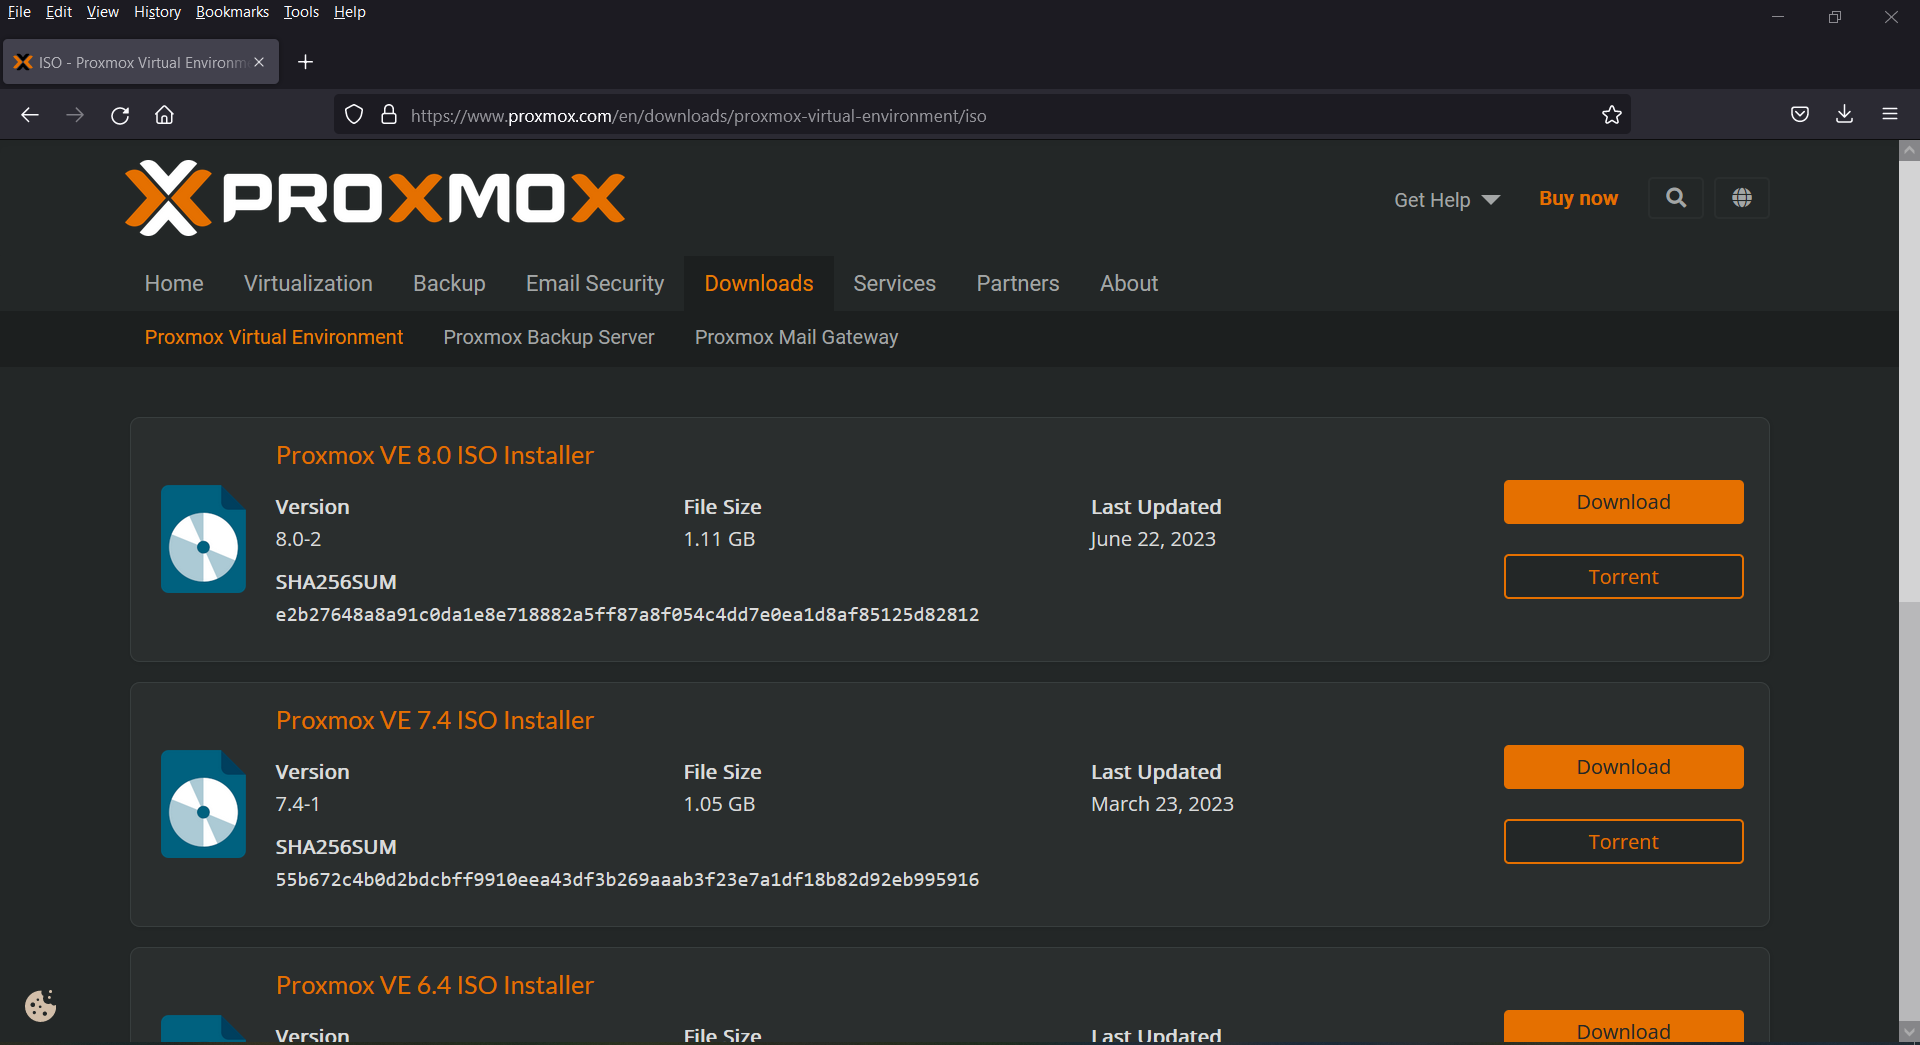
The first step in setting up your Proxmox server is to download the Proxmox VE ISO file from the official website. Once you have downloaded the ISO file, you will need to create a bootable USB drive or burn the ISO file to a DVD. Insert the bootable USB drive or DVD into the server and boot from it to start the installation process. Follow the on-screen instructions to install Proxmox on your server.
Step 2: Configure Networking
After you have installed Proxmox, you will need to configure the networking settings. Proxmox uses a web-based interface that you can access from any device on your network. Open a web browser and enter the IP address of your Proxmox server to access the web interface. From here, you can configure network settings, such as setting up a static IP address and configuring DNS settings.
Step 3: Create Virtual Machines
Once you have configured the networking settings, you can start creating virtual machines on your Proxmox server. Virtual machines allow you to run multiple operating systems on a single physical server. To create a virtual machine, click on the “Create VM” button in the Proxmox web interface and follow the on-screen instructions to set up the virtual machine.
Step 4: Configure Storage
In addition to creating virtual machines, you will also need to configure storage on your Proxmox server. Proxmox allows you to use local storage, network storage, or both. To configure storage, click on the “Datacenter” tab in the Proxmox web interface and select “Storage.” From here, you can add, remove, and manage storage devices on your server.
Step 5: Backup and Restore
Finally, it is crucial to set up a backup and restore strategy for your Proxmox server. Proxmox includes built-in backup and restore features that allow you to back up your virtual machines and restore them in case of data loss. To set up backups, click on the “Backup” tab in the Proxmox web interface and follow the on-screen instructions to configure backup settings.
In Conclusion
Setting up a Proxmox server may seem daunting at first, but with the right guidance, it can be a straightforward process. By following the steps outlined in this guide, you can set up your own Proxmox server and start running virtual machines in no time. Remember to regularly monitor and maintain your server to ensure optimal performance. Happy virtualizing!
