Setting up a Domain for Business Email: A Complete Guide
Having a domain for your business email not only adds professionalism to your communication but also builds trust with your customers. In this guide, we will walk you through the process of setting up a domain for your business email, step by step.
Step 1: Choose a Domain Name
The first step in setting up a domain for your business email is to choose a domain name. Your domain name should be easy to remember, reflect your business name, and be relevant to your industry. If possible, try to include keywords related to your business in your domain name to improve your search engine optimization (SEO).
Step 2: Register Your Domain
Once you have chosen a domain name, the next step is to register it with a domain registrar. There are many domain registrars to choose from, such as GoDaddy, Namecheap, and Google Domains. Be sure to research different registrars to find the best price and features for your needs.
Step 3: Choose an Email Hosting Provider
After registering your domain, you will need to choose an email hosting provider to set up your business email. Some popular email hosting providers include Google Workspace, Microsoft 365, and Zoho Mail. Consider factors such as pricing, storage, security, and customer support when choosing an email hosting provider.
Step 4: Set Up Your Business Email Account
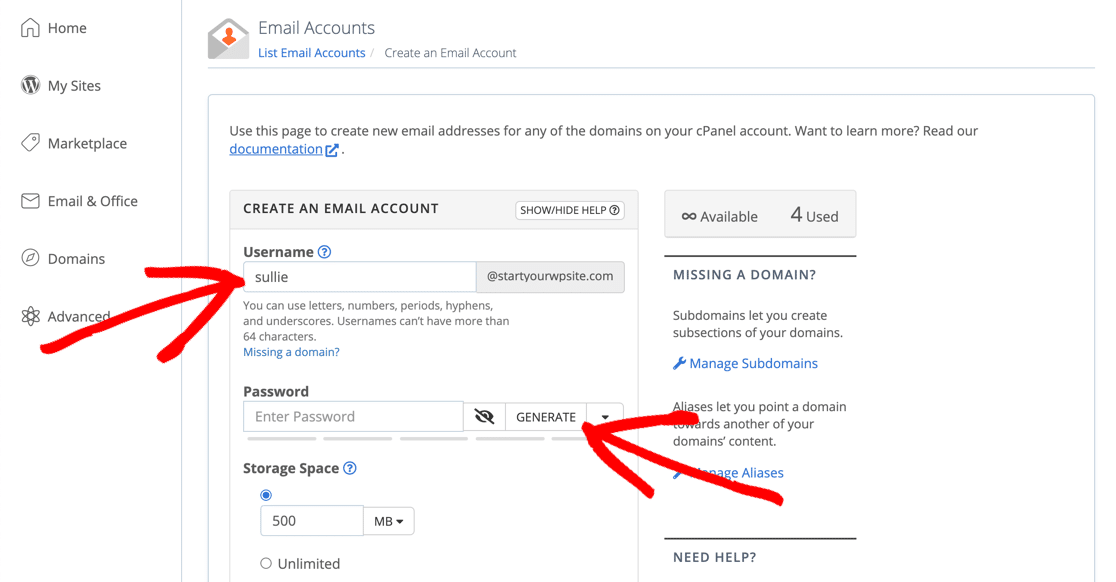
Once you have chosen an email hosting provider, follow their instructions to set up your business email account. You will need to verify your domain ownership, create email addresses for your team members, and configure your email settings. Be sure to test your email account to ensure everything is working correctly.
Step 5: Configure DNS Records
After setting up your business email account, you will need to configure DNS records to route incoming and outgoing emails through your domain. This typically involves adding MX (Mail Exchange) records and SPF (Sender Policy Framework) records to your domain settings. Your email hosting provider will provide instructions on how to configure these DNS records.
Step 6: Secure Your Business Email
It is essential to secure your business email account to protect your sensitive information and data. Enable two-factor authentication, create strong and unique passwords, and regularly update your email security settings. Educate your team members on email security best practices to prevent phishing attacks and data breaches.
Step 7: Monitor and Maintain Your Business Email
Once you have set up your domain for business email, it is crucial to monitor and maintain your email account regularly. Check for any unusual activity, monitor your email deliverability and open rates, and update your email settings as needed. Stay up to date on email marketing trends and best practices to ensure the success of your business email campaigns.
Conclusion
Setting up a domain for your business email is a critical step in establishing a professional online presence for your business. By following the steps outlined in this guide and taking proactive measures to secure your email account, you can create a reliable and effective communication channel with your customers and clients. Remember to regularly monitor and maintain your business email to ensure its continued success.
